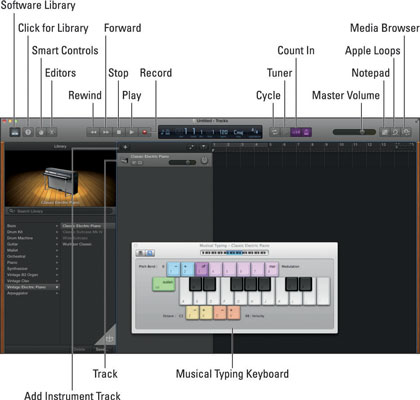
If you’re a perfectionist, you can keep recording part of a composition on your Mac until you feel that your performance is just right. Choose the section of the song you want to work on by clicking the Cycle button.
A yellow cycle region appears in the upper part of the beat ruler. Drag and resize it so that its left side aligns with the area you want to start recording and the right side aligns with where you want the region to end.

This process works only if you deselect the check box labeled Automatically Merge Software Instrument Recordings When Using Cycle Mode. The check box is found under GarageBand Preferences→General. If that checkbox is selected, all the audio layers into a single track.
Click Record to start recording the appropriate track. The playhead moves across the region and then starts over again and again. Click Play when you want to stop recording.
When you’re finished, a number appears in the upper-left corner of the cycle region, indicating the number of the active takes or the last take you recorded. So if you recorded five takes, the number is 5. Click Play to hear that take, or click the number and choose another take from the Take pop-up menu. After auditioning all your takes, you can delete the ones you don’t want.
You can take the best performance from one take and combine it with another. To do so, select the cycle region and move the playhead to the point where you want to seamlessly transition from one take to another. Choose Edit→Split Regions at Playhead and then assign each take as before.
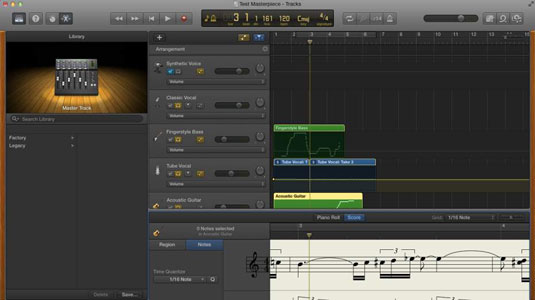
You may want to display your composition in notation view, with standard notes, clef signs, and so on. Select a software instrument region, and click the Editors button on the upper-left corner of the toolbar. Click the Score View button (it’s labeled Score and is adjacent to the Piano Roll button), and start composing.
You can print professional-looking sheet music of your composition by choosing File→Print in GarageBand.


