Adding a Windows 7 computer to an already established Windows Home Server network takes just a few minutes. Once you’ve connected the new PC to the server, the WHS will go straight to work collecting data for storage on the server.
If you bought a new PC with Windows Home Server preinstalled, use the instructions that came with the PC for setting it up and attaching it to your network.
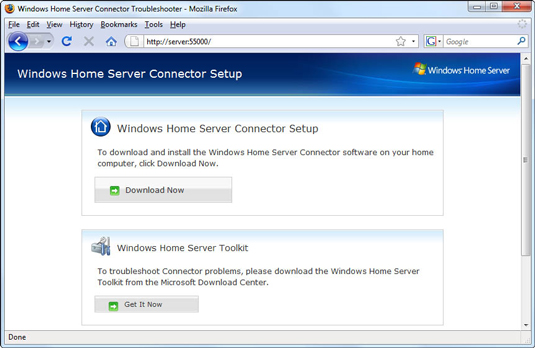
Start your favorite Web browser and open the server.

If you call your WHS server something other than server, substitute that name into the URL: http://server:55000. Your browser goes directly to your Windows Home Server server’s Connector Setup page, using your local network.
Don’t be tempted to run your original WHS Connector CD. It’s best to grab the latest version of the Connector software from your server.
Click Download now, download the Connector software (probably WHSConnectorInstall.exe), and run it.
 WHSConnectorInstall.exe), and run it.">
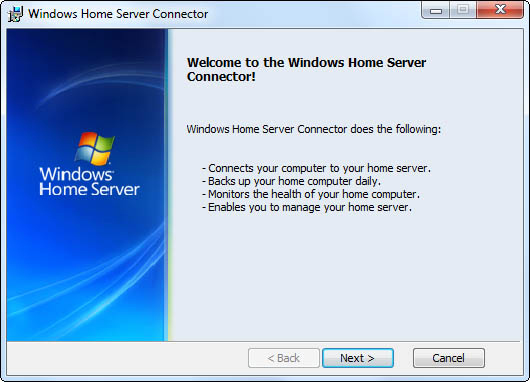
Depending on your browser, you might have to click a Save File button and then double-click to open the file. In the end, you see the Windows Home Server Connector installation program.
Click Next. Select the button to accept the license agreement and then click Next.
The installer works through its steps.
If this PC is the first one you’ve set up since setting up the Windows Home Server, you’ll be asked to choose a name for the server (server works well); enter a password for the server; set up automatic updating. You’ll need to decide whether you want to join the Customer Experience Improvement program and allow WHS to send error reports automatically.
When asked, type the Windows Home Server password and click Next.
This isn’t your password, it’s the password you provided when you (or someone on your network) initially set up the server. The Connector installer asks whether you want to wake up the computer to back it up.
Click the button labeled Yes, Wake Up This Computer If It Is in Sleep or Hibernate Mode and Back It Up. Click Next.
The Connector completes the steps to join the Windows Home Server network and to configure backups.
Click Next.
You see notification that the computer is configured to work with your home server.
Click Finish.
A new icon marked Shared Folders on Server appears on your desktop.
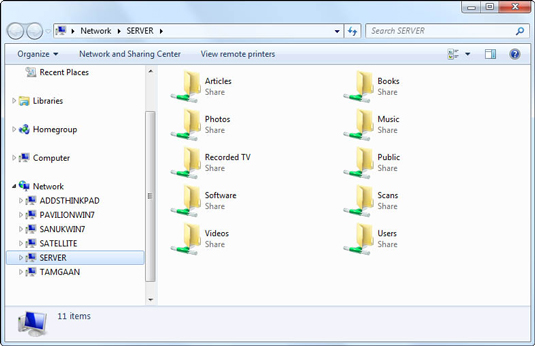
Double-click the Shared Folders on Server icon.

You’ll see all the folders set up on your Windows Home Server. Note that the Server now appears in the Network listing in Windows Explorer.


