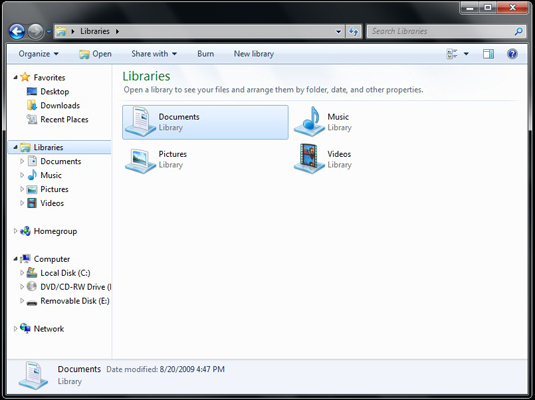
Windows 7 introduces a new file storage option called libraries. Libraries enable you to group related folders and files together. Windows 7 has four default libraries — Documents, Music, Pictures, and Videos — but you can create a custom library in Windows 7 to suit your needs.
To start working with you libraries, open a Windows Explorer window (for example, Start→Documents). Click Libraries in the Navigation pane to open the Libraries window.

You’ll want to create a new library when you want to combine all the folders and files that fall into a particular category. For example, if your company deals with a lot of different forms, you might want to create a Forms library where you store the various form document files, each within its own folder.
Click New Library from the menu bar.

A new library icon appears in the list of libraries.
Type a name for you new library. Click on a blank part of the window.
Double-click the icon to open the library.

Click Include a Folder.

You can now start selecting folders from this browse window. Select a folder and click Include Folder to add it to your new library.
You can also locate a file or folder anywhere in Windows Explorer and right-click to bring up the shortcut menu. Select Include in Library and then select your new library name to add more files or folders.


