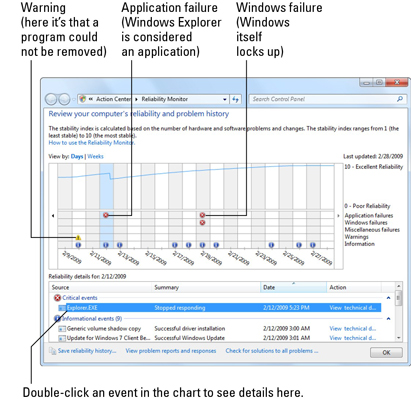
Windows 7 features many automated tools to help you pull yourself out of errors. The first place you should go to troubleshoot problems is the Windows 7 Action Center. The Action Center is packed with preloaded troubleshooting guides that can lead you by the hand to find the resolution to most problems.
Microsoft will download new troubleshooters to your computer from time to time, typically as part of “non-security updates.”
Choose Start→Control Panel and click the System and Security Link.
Under Action Center, click the Find and Fix Problems (Troubleshooting) link.

You see the Troubleshooting screen.
Make sure that the Get the Most Up-to-Date Troubleshooters check box is selected.
This step keeps you updated with newly released troubleshooting guides.
If you see a troubleshooter that seems to address your problem, click it.
The Windows 7 Action Center includes 20 troubleshooters for common problems broken down into a few primary categories. If your problem is listed, the Troubleshooting Wizard can step you through the entire process of fixing the problem.
Sometimes the troubleshooters just can’t handle the trouble. When this happens, you might see an error message dialog box. You can click Next and end up with informative messages such as “The Error ‘5’ was encountered." You can then try to look up the specific error code on the Microsoft Web site.


