


PowerPoint 2013 includes a Compress Pictures command that can eliminate the extraneous detail in your images and thereby reduce the size of your presentation files. To save even more space, the Compress Pictures command also removes any parts of your pictures that have been cropped.
You can use this command to compress just a single picture or to compress all the pictures in your presentation at once. Compress all your pictures by following these steps:
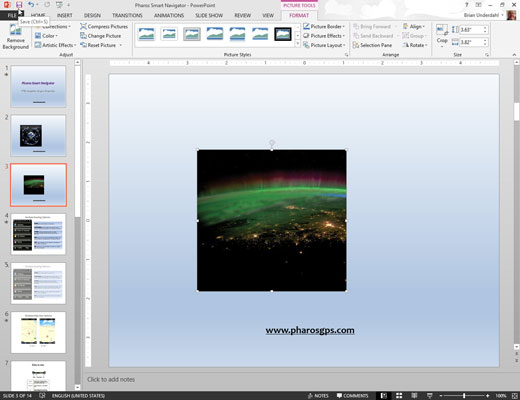
Double-click any picture in the presentation to bring up the Picture Tools Format tab and then click the Compress Pictures button.

The Compress Pictures dialog box appears.
Deselect the Apply Only to This Picture option.
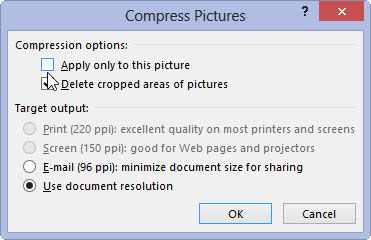
If you leave this option checked, only the selected picture will be compressed. Deselect this option to compress all the pictures in the presentation.
Select the Target Output option.
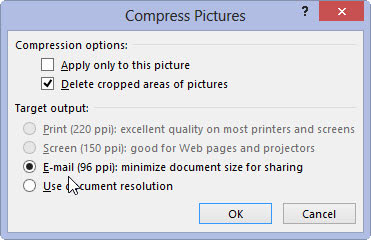
This step sets the compression so that image quality will still be good when the pictures are displayed on a computer screen or projector.
Click OK.
The images are compressed. Note that if you have a lot of pictures in your presentation, this step may take a few moments.
Save your presentation.
The images won’t actually be compressed in the presentation file until you save the file.
