Clip art is the name given to over 150,000 readymade illustrations offered by Microsoft for use in its various Microsoft Office programs, including Excel 2010. Clip art drawings are so numerous that the images are classified into different categories ranging from Abstract to Web Elements.
On the Insert tab, click the Clip Art button in the Illustrations group.
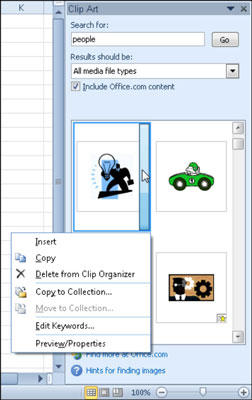
Excel 2010 displays the Clip Art task pane, where you search for the type of art you want to use.
Click in the Search For text box and enter the keyword(s) for the type of clip art you want to find.
When you enter keywords for finding particular types of clip art, try general, descriptive terms, such as trees, flowers, people, flying, and the like.
Click the Results Should Be drop-down button and select the Illustrations check box, if it isn't already selected.
By default, Excel searches all the collections of clip art (including the Office.com collection on the Web). To limit your search to clip art only, select the Illustrations check box and remove check marks from the Photographs, Videos, and Audio check boxes.
Click the Go button to the right of the Search For text box to initiate the search.
Excel displays several images that match your search keywords.
Select the desired clip art image.

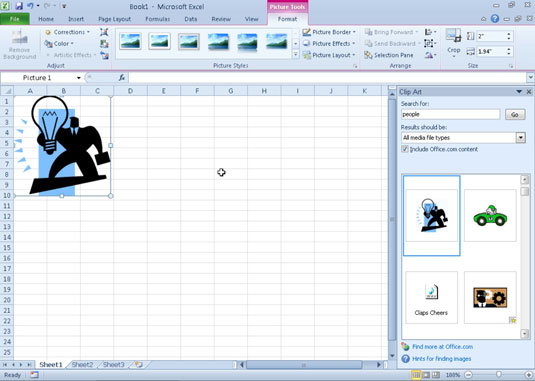
Position the mouse pointer over the image you want to use to display its drop-down button. Click the drop-down button and choose Insert at the top of its drop-down menu. The clip art image appears in the worksheet.
Move and resize the image as necessary.

Clip art graphics are normally a bit larger than you actually need them to be. Click and drag the circular resizing handles around the outer edge of the image to make it the right size, and then click and drag inside the image to position it where you want it.


