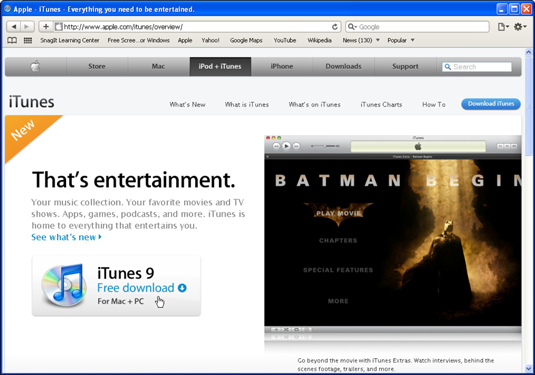
Although it's designed by Apple, iTunes runs just fine on a Windows PC. To install iTunes on a PC, start at the download page for the free iTunes for Windows software at the Apple Web site.
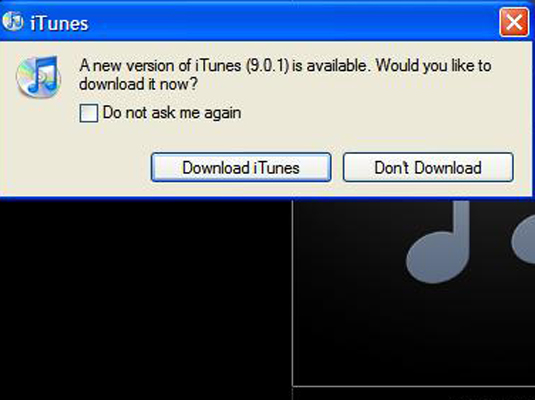
Download the iTunes installer from the Apple site.

Browse the Apple Web site and click the Download iTunes Free button. Follow the instructions to download the installer to your hard drive. Pick a location on your hard drive to save the installer.
Run the iTunes installer.

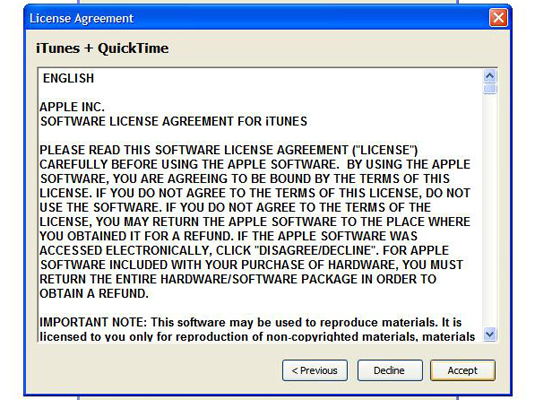
Double-click the iTunesSetup.exe file to install iTunes. At the Welcome screen, click the Next button. The installer displays the License Agreement dialog box.
Click the option to accept the terms of the License Agreement, and then click Next.

You can scroll down to read Apple’s License Agreement. You must choose to accept the agreement or the installer goes no further. After clicking Next (which is active only if you accept), the installer displays the installation options.
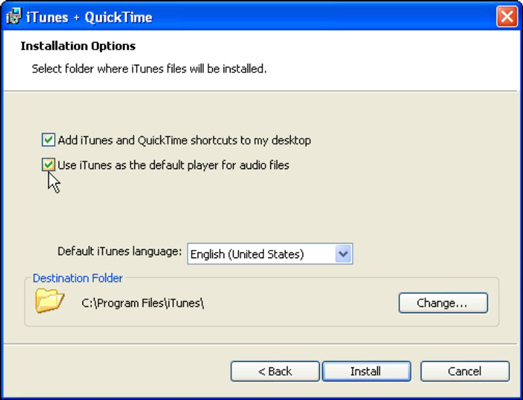
Choose iTunes installation options.

You can turn the following options on or off: (a) Add iTunes and QuickTime Shortcuts to My Desktop and (b) Use iTunes as the Default Player for Audio Files.
Choose the language iTunes should use.
The default language is English (U.S.). If you want to use a different language, select one from the drop-down list.
Choose the destination folder for iTunes.
By default, the installer assumes that you want to store the program in the Program Files folder of your C: drive. If you want to use a different folder, click Change to use Windows Explorer to locate the desired folder.
Click Install to finish.

After you click Install, the installer finishes the installation and displays the Complete dialog box. Click Finish. Restarting your Windows PC after installing software is always a good idea.


