You can create a table in Excel 2010 to help you manage and analyze related data. The purpose of an Excel table is not so much to calculate new values but rather to store lots of information in a consistent manner, making it easier to format, sort, and filter worksheet data.
An Excel table is not the same as a data table that can be used for what-if analysis. You use a data table to show how changing one or two variables in formulas affects the results of those formulas.
Enter your table's column headings.
Click the blank cell where you want to start the new table and then enter the column headings (such as ID No, First Name, Last Name, Dept, and so on) in separate cells within the same row. Column headings are also known as field names. The column headings should appear in a single row without any blank cells between the entries.
Enter the first row of data immediately below the column headings you typed in Step 1.
These entries constitute the first row, or record, of the table.
Click the Table command button in the Tables group of the Insert tab.

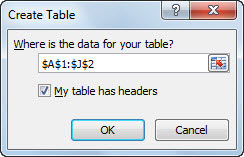
Excel displays a marquee around all the cells in the new table. The Create Table dialog box appears, listing the address of the table in the Where Is the Data for Your Table text box. (If the address displayed here is incorrect, drag in the worksheet to select the correct range.)
Click the My Table Has Headers check box to select it.
These headers are the column headings entered in the first step.
Click OK.

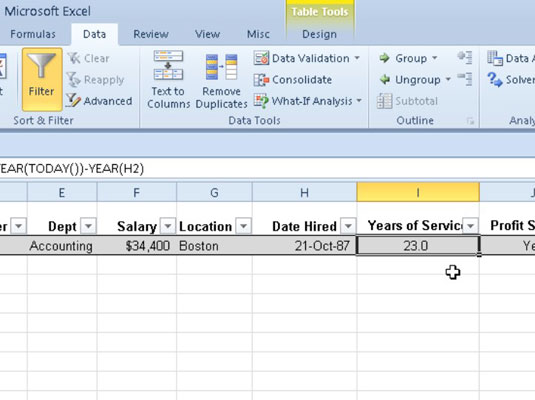
Excel inserts and formats the new table and adds filter arrows (drop-down buttons) to each of the field names in the top row.


