Choose File→New→Project.

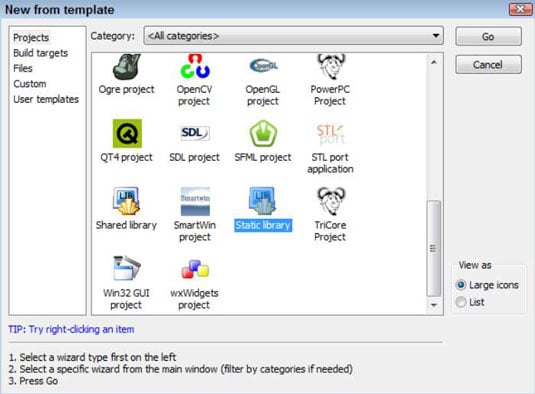
You see the New From Template dialog box shown.
Highlight the Static Library icon on the Projects tab, then click Go.
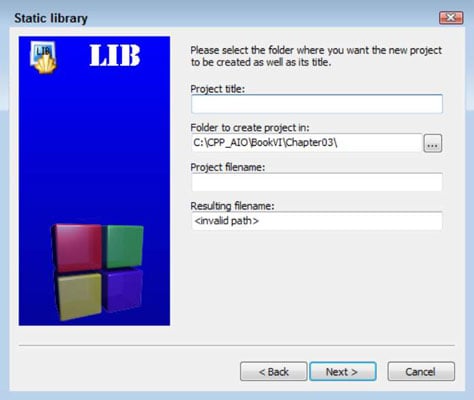
You see the Welcome page of the Static Library wizard.
Click Next.

You see a list of project-related questions. These questions define project basics, such as the project name.
Type a name for your project in the Project Title field.
The example uses MathLibrary as the project title. Notice that the wizard automatically starts creating an entry for you in the Project Filename field.
Type a location for your project in the Folder to Create Project In field.
(Optional) Type a project filename in the Project Filename field.
Click Next.

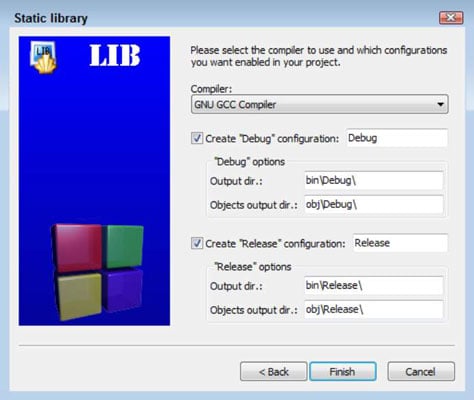
You see the compiler settings shown. This example uses the default compiler settings. However, it’s important to remember that you can choose a different compiler, modify the locations of the debug and release versions of the project, and make other changes as needed. Code::Blocks provides the same level of customization for libraries as it does for applications.
Change any required compiler settings and click Finish.
The wizard creates the application for you. It then displays the Code::Blocks IDE with the project loaded. Note that the Static Library project includes some sample code to get you started. You could compile this library and test it now.

