

If your image editor supports layers, add text to your digital photo by including a text layer in the image file. You can include this text anywhere in the image and decide the text’s look. This process is similar in all image-editing software that supports layers, but to add text to a photo in Photoshop Elements:
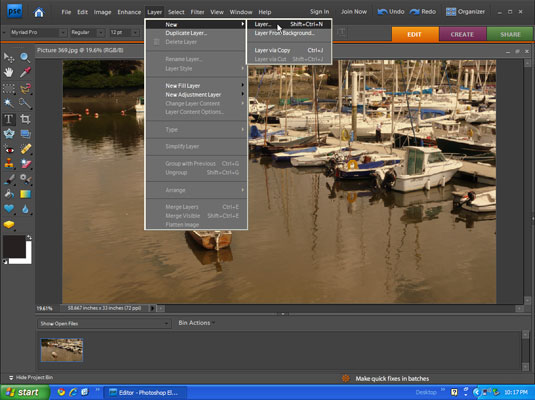
Open the image in your image editor and choose Layer→New→Layer.
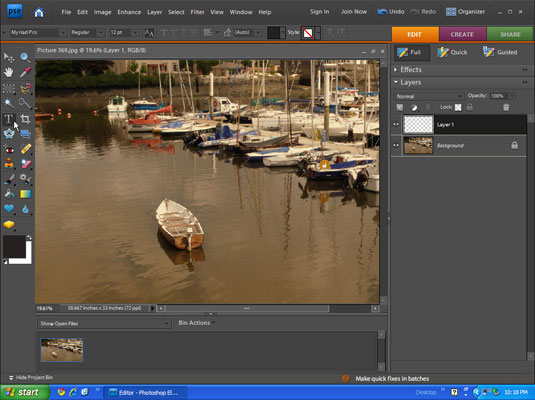
A new layer appears in your image.
Select the Text tool from the tool palette.
Most image editing software uses a T in the icon, or some letters to represent text.
Move your text block into place on the photo.
Just move the mouse to the position on the photo where you want the text to land.
Type the text you want to include in the picture.

You can select the font, style, color, and size of your type from the menu bar.
Add effects to your text if you want to spice them up.
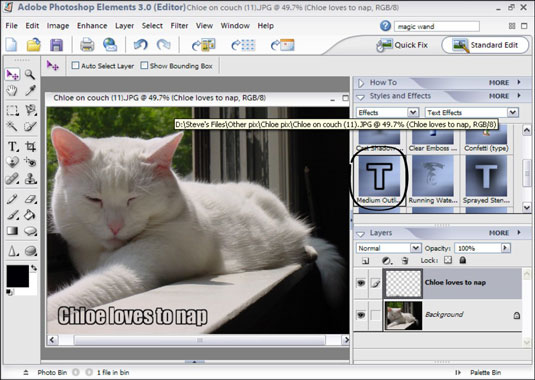
Click the arrow to open the Styles and Effects palette. Select Effects from the left drop-down list and Text Effects from the right drop-down list. In the Layers palette, select your text layer and apply the chosen effect. This figure demonstrates the Medium Outline effect.

