To figure out the biggest size at which you can print your picture at a certain resolution, divide the number of pixels across by the resolution you want. The result gives you the largest print width you can use (in inches). To determine the maximum print height, divide the number of pixels vertically by the desired resolution.
You must set the print size and resolution before you send the image to the printer. Follow these steps if you’re working in Elements:
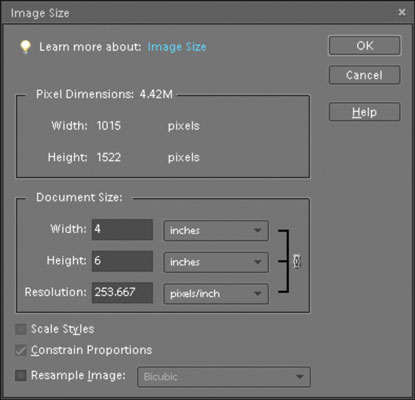
Choose Image→Resize→Image Size.

The Image Size dialog box appears.
Uncheck the Resample Image check box.
This option controls whether the program can add or delete pixels when you change the print dimensions. When the option is unchecked, you can’t change the number of pixels.
Enter the print dimensions or resolution.
When you enter a print dimension in the Width or Height box, the other value changes automatically to retain the original proportions of the picture; the Resolution value also changes automatically. If you prefer, you can change the Resolution value, which alters the Width and Height values automatically.
Click OK or press Enter.
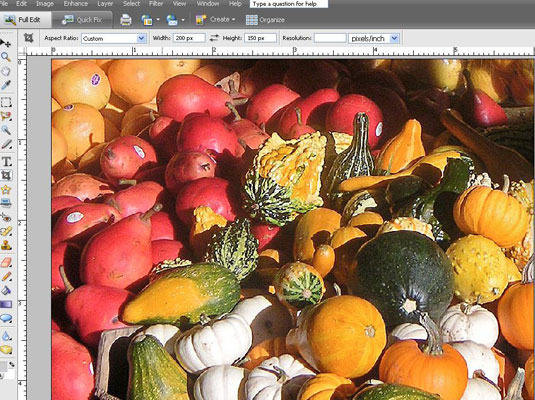
Your image on-screen doesn’t change because you still have the same number of pixels to display.
Choose View→Rulers.

Rulers appear along the top and left side of your image, showing the picture’s print dimensions.


