


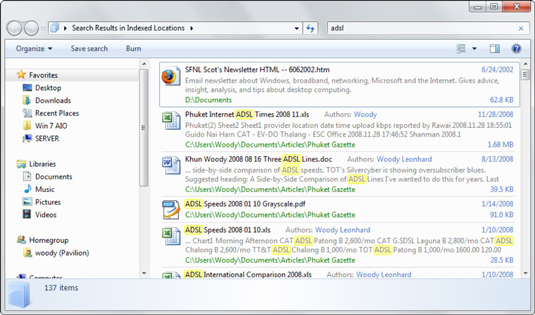
At the heart of Windows 7’s vastly improved search feature sits the index. The Windows 7 index stores references to the contents of the computer. You can greatly speed the search process by adding all your storage locations to the Windows 7 search index.
Windows 7 automatically indexes all files in the following locations:
All Users Start Menu folder
Individual user’s Start Menu folders
All folders in all libraries for all users (even library contents across the network)
Want to add more folders to the index? That’s a common situation for advanced users, who might store indexable files in locations other than in the Documents library.
Choose Start, immediately type index, and press Enter.
Windows 7 shows you the Indexing Options dialog box.
Wait until you can leave your computer alone for a few hours. Indexing a big folder can take a long time.
Click the Modify button.
Windows shows you the Indexed Locations dialog box.
Click the arrows next to the drives that contain the folders you want to add.
You can add folder to the index only if it is on your PC. You can’t manually add networked folders.
Select the check boxes next to the folders. When you’re done, click OK.
Windows 7 wheezes and moans and indexes the locations you picked.
The easiest way to add a folder to the index is to simply add the folder to a library. Choose Start→Documents (or Music or whatever), click the Library Locations link in the upper-right corner, and add the folder. The folder you add can be on your PC or on the network.


