Grouping action buttons into a navigation toolbar makes a PowerPoint 2013 slide show easy to navigate. You can add a set of navigation buttons to the bottom of your Slide Master. To create a navigation toolbar that appears on every slide, follow these steps:
Switch to Slide Master View.

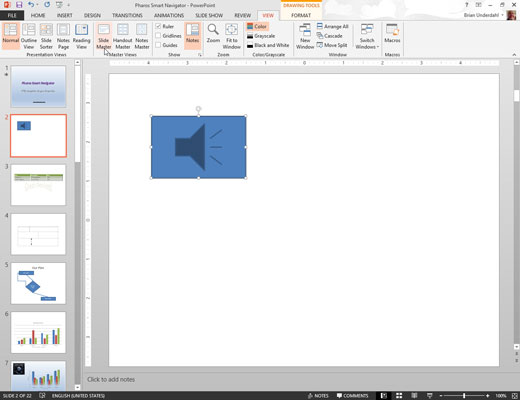
From the View tab on the Ribbon, click the Slide Master button in the Master Views group. Or if you like shortcuts, hold down the Shift key and click the Normal View button in the lower-left corner of the PowerPoint window.
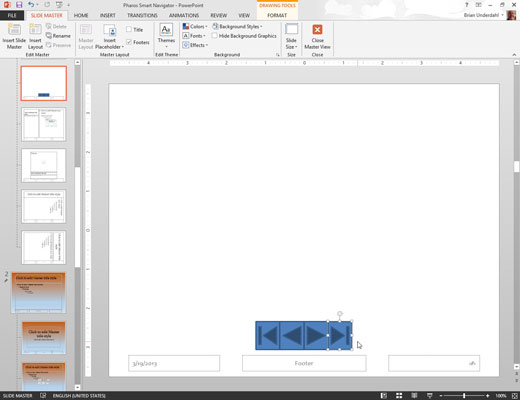
Create the action buttons that you want to include.

Make sure that all the buttons are the same size and line them up to create a tight cluster of buttons.
You can easily duplicate a button by holding down the Ctrl key while you drag the button to a new location. This technique makes it easy to create several similar buttons, such as navigation buttons.
Return to Normal View.

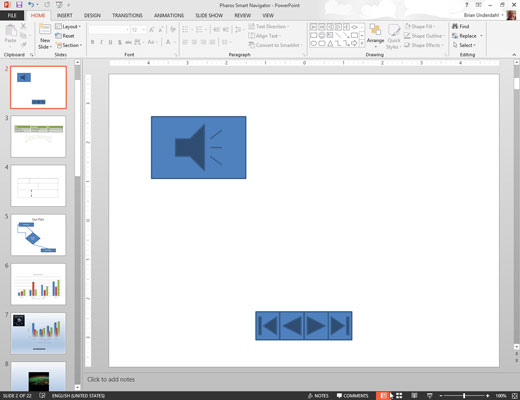
Click the Normal View button or click the Normal button in the Presentation Views group on the View tab.
The buttons that you created appear on every slide in your presentation.


