Log in to YouTube.
Click your channel icon in the top right to bring up the Creator Studio and YouTube Settings pull-down menu.
Click the Gear icon.

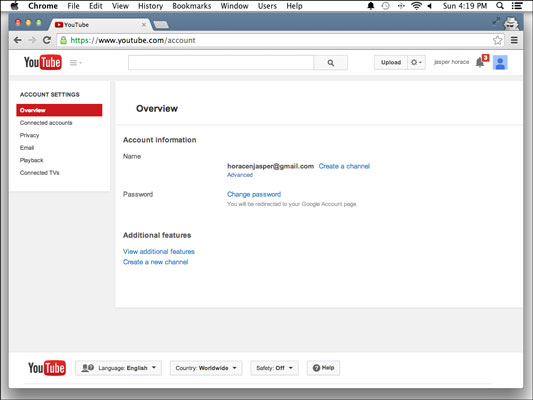
You’re taken straight to the Account Settings Overview screen. In most Google products, this Gear icon means “settings.” You should now be looking at a simple overview of your account information, similar to the one shown.
To create your channel, click the Create a channel link next to your email address.

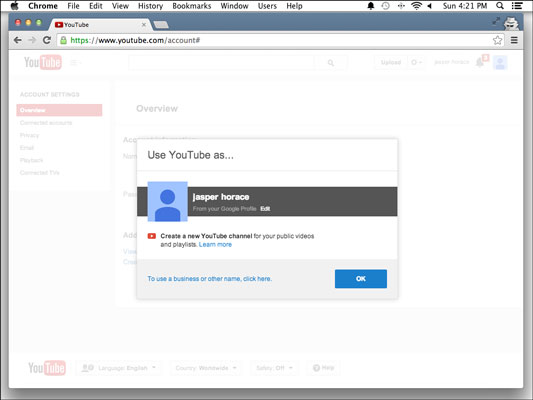
Doing so opens the Use YouTube As dialog box, which prompts you to choose a channel name.
Decide on a channel name.
Your choices are to go with the name associated with your Google+ account for your channel — click the OK button in the Use YouTube As dialog box to do that — or to choose a custom name.
(Optional) To choose a custom name, click the link labeled To Use a Business or Other Name, Click Here.

Sometimes it’s okay to use your real name for your channel. If your content will be personality based (a vlog based around you, for example), this can work just fine.
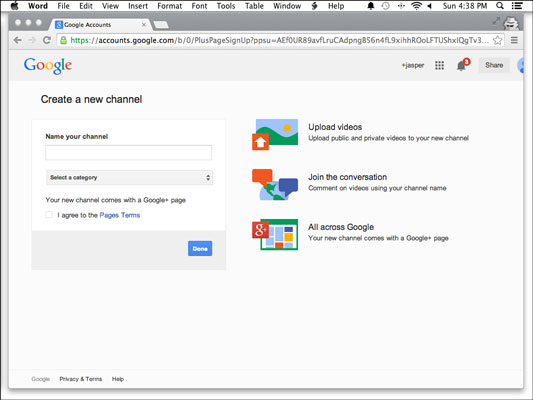
Enter your custom channel name into the Create a New Channel dialog box.
Choose a category for your channel from the drop-down menu below the channel name.
Your (rather limited) choices here are pretty much what you’d expect: Product or Brand; Company, Institution, or Organization; Arts, Entertainment, or Sports; Other.
After you’ve chosen a channel name and a category, YouTube notes that you’re also creating another Google+ account, this one in the name of your channel. You can assign verticals or genres to each video individually when you upload it.
Agree to the terms and conditions for Google+ accounts by selecting the check box.
You’ll also get a new Google+ page by default. You don’t have to do anything with this, but it’s a good place to share some of your YouTube and social media activity if you have a following there.
Click the Done button.

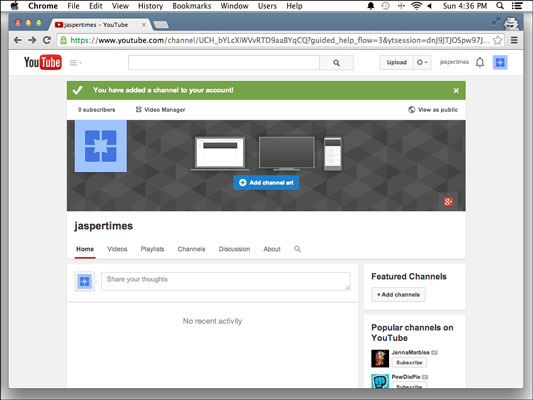
You are now the proud owner of a channel with no content and a boring default layout. You’ll notice in the upper-right corner that the name has changed from your Google account name to your brand‐spanking‐new channel name.


