Although you can create e-mail messages very quickly in Outlook 2013, you may prefer a more detailed approach to creating an e-mail message. If you have a yen for fancy e-mail — especially if you want to take advantage of every bell and whistle Outlook can add to your message — follow these steps:
Click the Mail button in the Navigation bar (or press Ctrl+Shift+I).

The Mail module appears.
Click the New E-Mail button in the Ribbon (or press Ctrl+N).

The New Message form appears.
Click the To text box and type the e-mail addresses of the people to whom you’re sending your message.
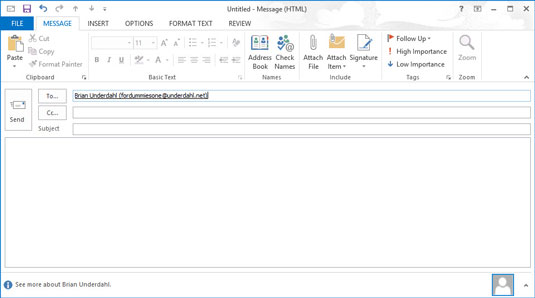
If you’re sending messages to multiple people, separate their addresses; you can use either commas or semicolons.
You can also click the To button itself, find the names of the people to whom you’re sending the message in the Address Book, double-click their names to add them to the To text box, and then click the OK button.
Click the Cc text box and type the e-mail addresses of the people to whom you want to send a copy of your message.
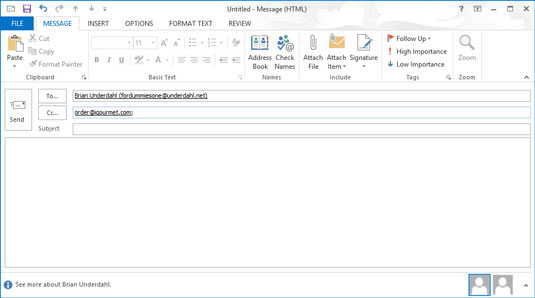
You can also click the Cc button to add people from the Address Book.
Click the Check Names button in the New Message form’s Ribbon (or press Ctrl+K).
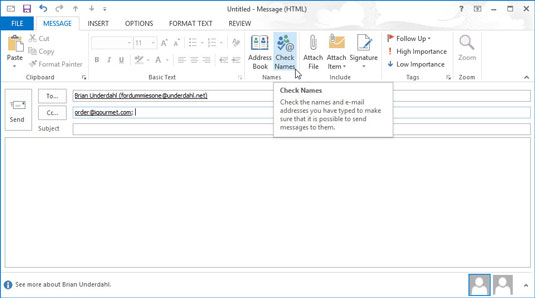
If you haven’t memorized the exact e-mail address of everyone you know (gasp!), the Check Names feature lets you enter a part of an address and then looks up the exact address in your Address Book so that you don’t have to be bothered. Double-check what Check Names enters; sometimes it automatically enters the wrong address, which can yield embarrassing results if you don’t realize it and send the message.
Type the subject of the message in the Subject text box.
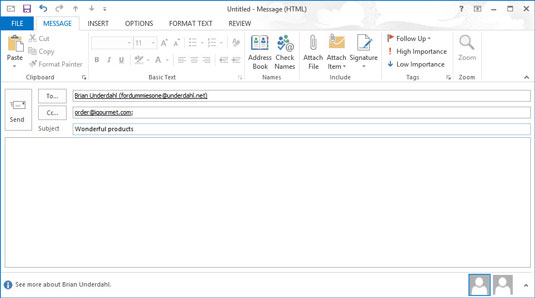
You should keep your subject line brief. A snappy, relevant subject line makes someone want to read your message; a long or weird subject line doesn’t.
If you forget to add a subject and try to send a message, Outlook opens a window that asks whether you really meant to send the message without a subject. Click the Don’t Send button to go back to the message and add a subject. If you want to send your message without a subject, just click the Send Anyway button (but not before you’ve written your message).
Type the text of your message in the Message box.
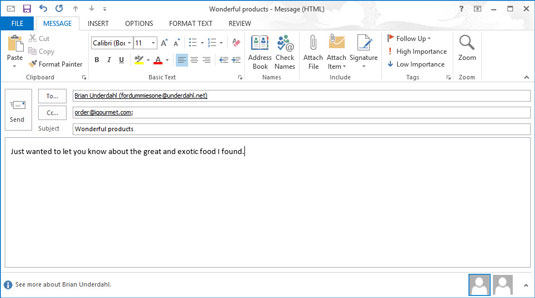
If you use Microsoft Word as your word processor, you’re probably familiar with the formatting, graphics, tables, and all the tricks available in Word to make your e-mail more attractive. Those same tricks are available in Outlook by using the tools at the top of the message form.
There may be times when you don’t need to put anything in the Message text box, such as when you are forwarding a message or sending an attachment. If that is the case, simply skip this and move on to the next step.
Select the Review tab and click the Spelling & Grammar button at the top of the message screen (or press F7).
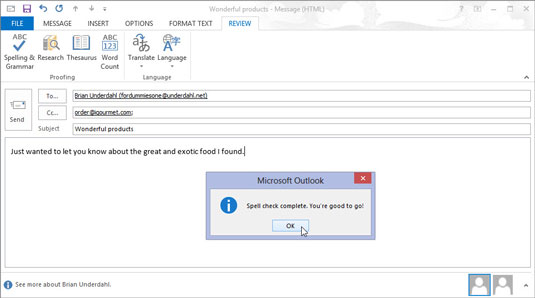
Outlook runs a spell check to make sure that your message makes you look as smart as you actually are.
Click the Send button (or press Ctrl+Enter or Alt+S).
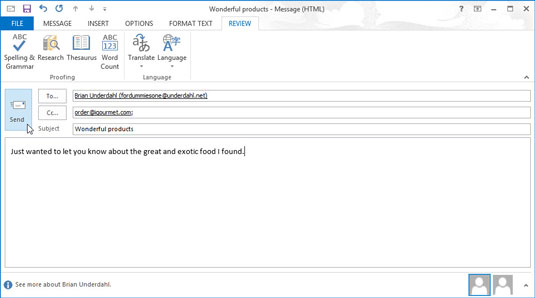
Your mail is moved to the Outbox. If your computer is online, Outlook immediately sends any messages from the Outbox. If Outlook is configured to not immediately send messages (as might be the case in some offices), you can press F9 (or select Send/Receive and click the Send/Receive All Folders button in the Ribbon) to send any e-mail messages that are queued up in the Outbox.
If you composed messages while your computer was offline, you can press F9 to send your messages when it’s again connected to the Internet. When a message is sent, it automatically goes to the Sent Items folder.


