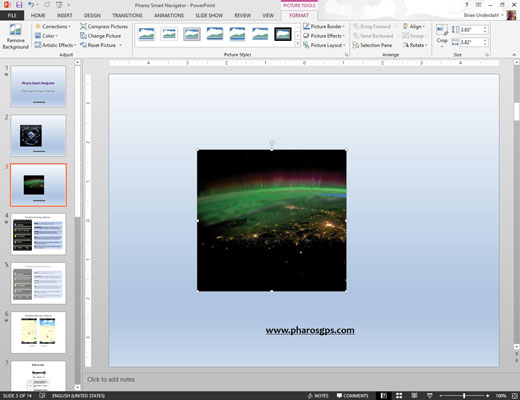
Sometimes you want to cut off the edges of a picture so that you can include just part of the picture in your PowerPoint 2013 presentation. For example, you might have a picture of two people, only one of whom you like. You can use PowerPoint’s cropping feature to cut off the other person. (Note that you can crop bitmap images, but not vector pictures.)
To crop a picture, follow these steps:
Select the picture and click the Crop button located near the right side of the Format tab on the Ribbon, in the group labeled Size.

The selection handles change to special crop marks.
Drag the crop marks around to cut off part of the picture.

When you crop a picture, the picture still retains a basic rectangular shape.
When you’re satisfied, press the Esc key.

If you decide later that you don’t like the cropping, you can right-click the picture and choose Format Picture from the menu that appears. Then click the Reset button.


