If you’re like most, you sometimes have One Of Those Days and forget to add a record or field to your recipient list in Word 2013. When that happens, you need to edit the recipient list. Such torture involves these steps:
On the Mailing tab, in the Start Mail Merge group, click the Edit Recipient List button.

The button isn’t available unless you’re working on a main document and it has been associated with a recipient list.
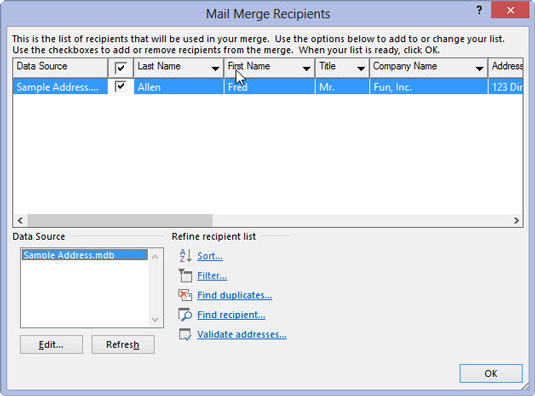
Select the data source.

In the lower-left corner of the Mail Merge Recipients dialog box, click the data source filename.
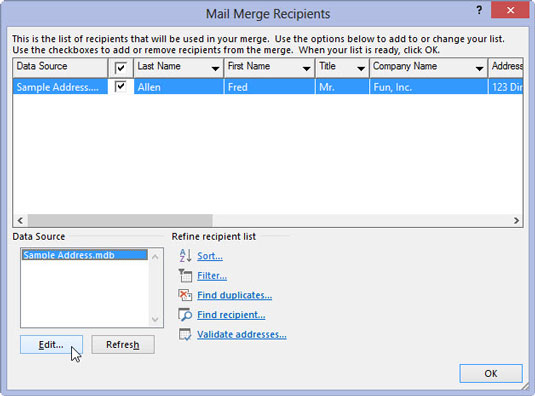
Click the Edit button.

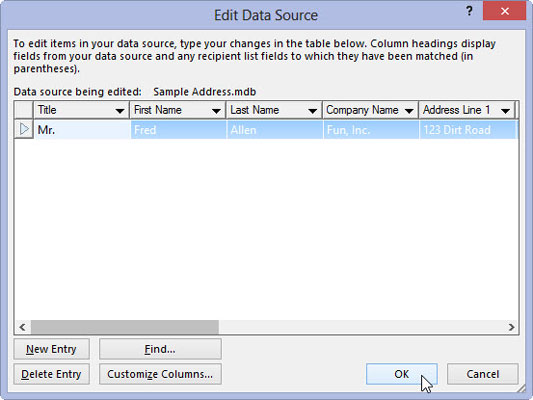
You can now use the Edit Data Source dialog box to edit each record in the recipient list or to add or remove columns and perform other chaos. The Edit Data Source dialog box looks and works just like the New Address List dialog box.
Click the Delete Entry button to remove a record.
Click the New Entry button to create a new record.
Click the Customize Columns button to delete, add, or rename fields.
Click the OK button when you’re done editing.

Before you do, make sure you are finished editing your options.
Click the Yes button to save any changes.

This will save your changes.
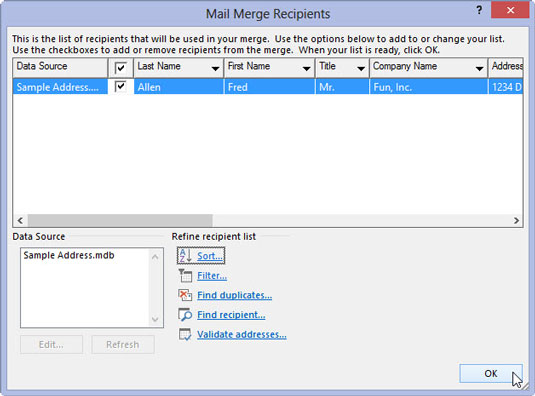
Click the OK button to dismiss the Mail Merge Recipients dialog box.

This technique doesn’t work when you create a recipient list from a Word document. In that case, you must open the document and edit the list by using Word’s table tools.


