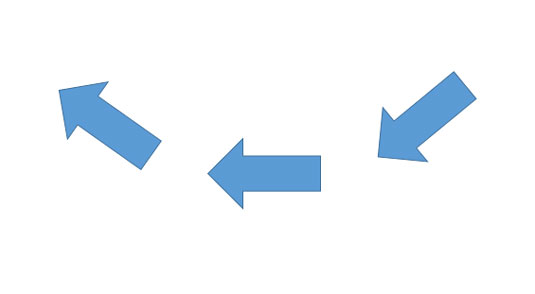
To flip an object means to create a mirror image of it. To rotate an object means to turn it about its center. PowerPoint 2013 lets you flip objects horizontally or vertically, rotate objects in 90-degree increments, or freely rotate an object to any angle.
Rotation works for text boxes and Shape text. Therefore, you can use rotation to create vertical text or text skewed to any angle you want. However, flipping an object doesn’t affect the object’s text.
Flip an object in PowerPoint 2013
PowerPoint enables you to flip an object vertically or horizontally to create a mirror image of the object. To flip an object, follow these steps:
Select the object that you want to flip.
Open the Drawing Tools tab, click the Rotate button on the Arrange group, and then choose Flip Horizontal or Flip Vertical.
Rotate a PowerPoint 2013 object 90 degrees
You can rotate an object in 90-degree increments by following these steps:
Choose the object that you want to rotate.
Open the Drawing Tools tab, click the choose Rotate button on the Arrange group, and then choose Rotate Right or Rotate Left.
To rotate the object 180 degrees, click the appropriate Rotate button again.
Use the rotate handle in PowerPoint 2013
Remember how all the bad guys’ hideouts were slanted in the old Batman TV show? The rotate handle lets you give your drawings that same kind of slant. With the rotate handle, you can rotate an object to any arbitrary angle just by dragging it with the mouse.
The rotate handle is the green handle that appears when you select an object that can be rotated. The rotate handle appears above the object, connected to the object by a line. You can rotate an object to any angle simply by dragging the rotate handle.

The following steps show you how to use the rotate handle:
Click the object that you want to rotate.
Drag the rotate handle in the direction that you want to rotate the object.
As you drag, an outline of the object rotates around. When you get the object’s outline to the angle you want, release the mouse button, and the object is redrawn at the new angle.
To restrict the rotation angle to 15-degree increments, hold the Shift key while dragging around the rotation handle.


