

When you've got a SQL database, you can build a table for HTML5 and CSS3 programming. When you've defined a table, you can add data. When you've got data, you can look at it. Begin by building a table to handle the contact data.
Be sure you're logged into phpMyAdmin.
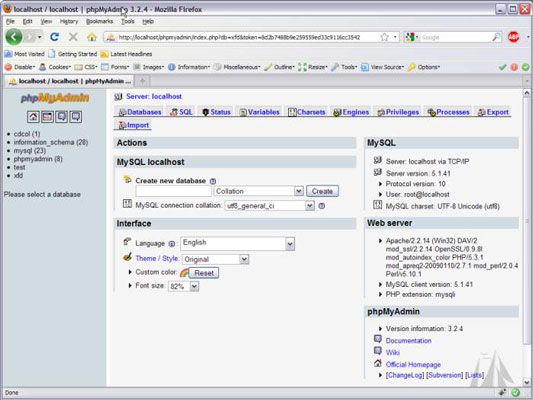
The phpMyAdmin page will have your database name available in the left column.
Activate the database by clicking the database name in the left column.
If the database is empty, an Add Table page appears.
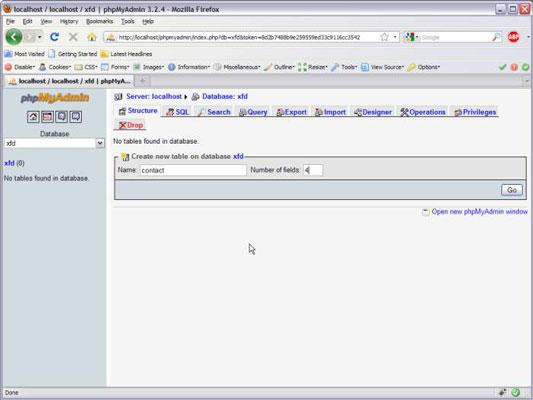
Create a new table using the phpMyAdmin tool.
Now that you have a database, add the contacts table to it. The contacts database has four fields, so type a 4 into the box and let ’er rip.
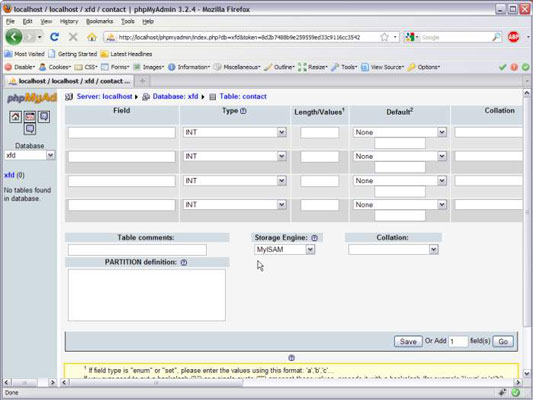
Enter the field information.

Type the field names into the grid to create the table. You can’t see it, but you can select the index of contactID as a primary key. Be sure to add this indicator. Also set the collation of the entire table to ascii_general_ii.
Click the Save button and watch the results.
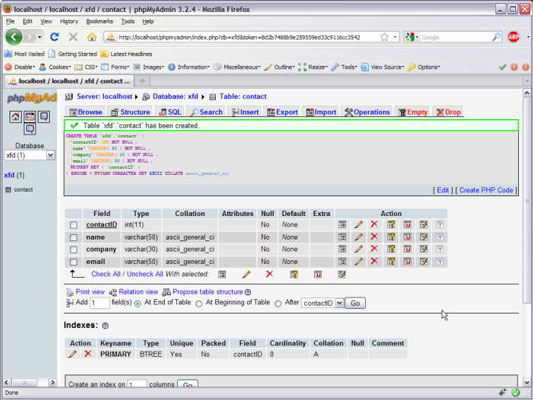
phpMyAdmin automatically writes some SQL code for you and executes it.
Now, the left panel indicates that you're in the database, which has a table called Contact.

After you define a table, you can add data. Click Contact in the left column, and you see the screen for managing the contact table,.
You can add data with the Insert tab, which gives a form, based on your table design.
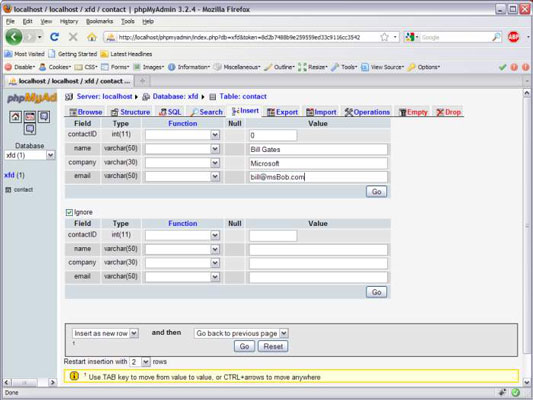
Add the record.
Choose Insert Another Row and click the Go button. Repeat until you've added all the contacts you want in your database.
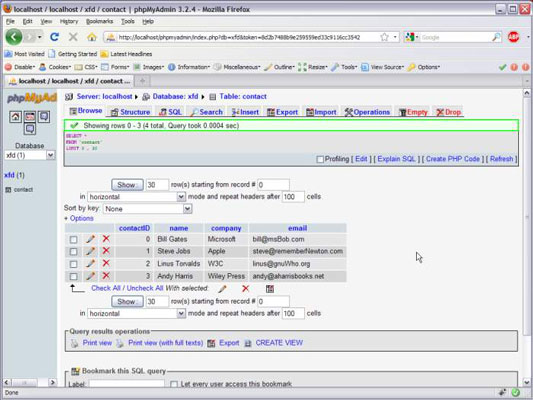
After you add all the records you want to the database, you can use the Browse tab to see all the data in the table.


