After you’ve signed up with an ISP, you can set up Outlook 2013 to send and receive e-mail from your account. Although any individual Internet e-mail account requires setup only once, you can set up many such accounts if you need them.
To set up an Internet e-mail account, follow these steps:
Click the File tab.

The Backstage view appears.
Click the Account Settings button and choose Account Settings from the drop-down menu.
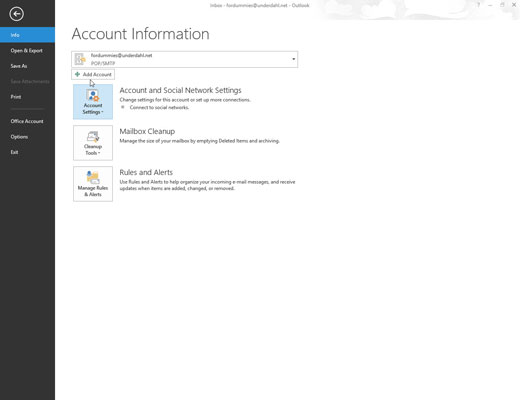
The Account Settings dialog box appears.
Click the E-mail tab.
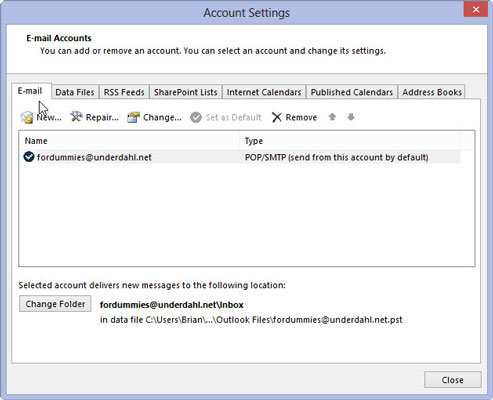
The E-mail Accounts setup page appears.
Click the New button.
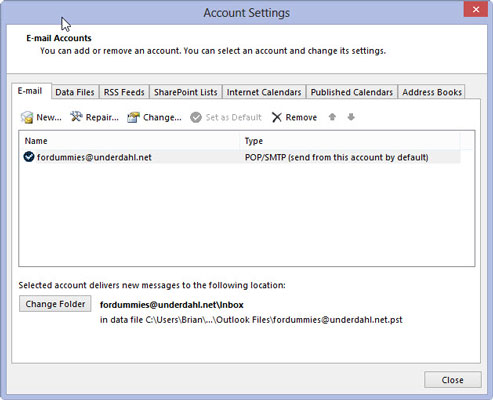
The Add New Email Account dialog box appears.
Click an option: Microsoft Exchange, POP3, or IMAP and then click the Next button. (If you don’t see these options, select the Manual Setup or Additional Server Types option and click Next.)
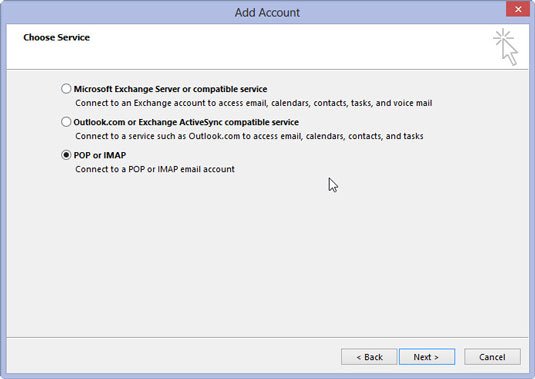
The Add New Account dialog box appears.
Fill in the blanks in the New Account dialog box.
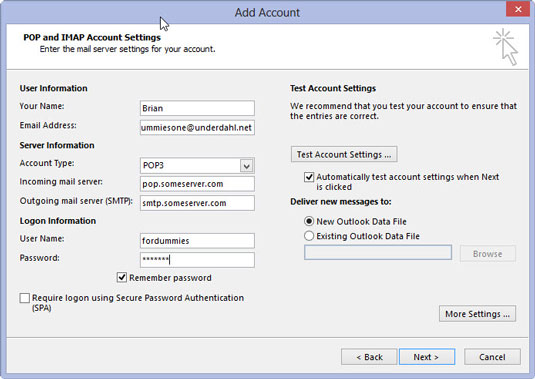
Be careful to enter the information accurately — especially your e-mail address and password. Otherwise, your e-mail won’t work.
Click the Next button.
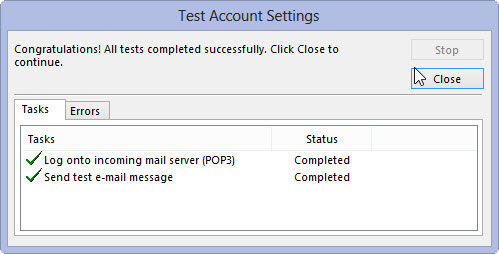
Outlook begins trying to test your e-mail account setup. If it succeeds, the Congratulations screen appears.
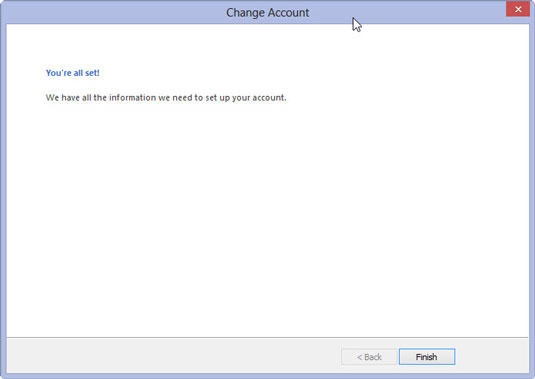
Click the Finish button to complete the process.
If the automatic setup fails, check with your e-mail provider to see what settings they recommend. Then you can repeat the previous steps, but select the Manually Configure Server Settings check box right after filling in the blanks in the New Account dialog box.
That opens the Server Type dialog box, which is where you can enter the settings that your e-mail provider tells you to enter. Each e-mail service differs, but most of them can tell you how to make their e-mail work with Outlook.


