Scanners are nifty little devices that work like photocopiers. Rather than make a copy, the scanner takes the original and creates a graphics image that’s then stored in your computer. So, the scanner gets the images directly into your computer:
Connect the scanner to your PC.
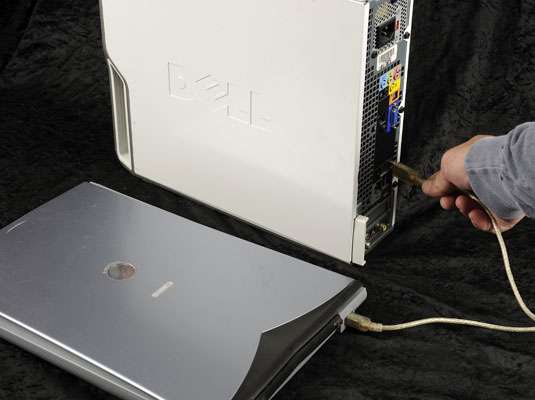
Most scanners connect via a USB cable.
Place the material to be scanned into the scanner, just as though you were using a photocopier. Turn the scanner on, if necessary.
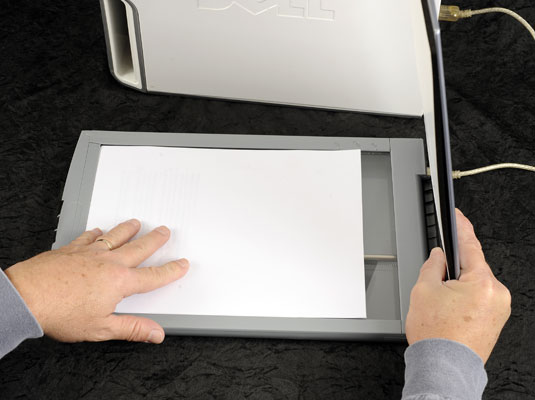
Put the portion of the material that you want to copy facedown (so that it’s pressed against the scanner glass).
Your scanner may not have a power button or switch, in which case, it turns on automatically when you plug it into your computer.
Press the scan button on the scanner, which is the button to acquire a digital image.
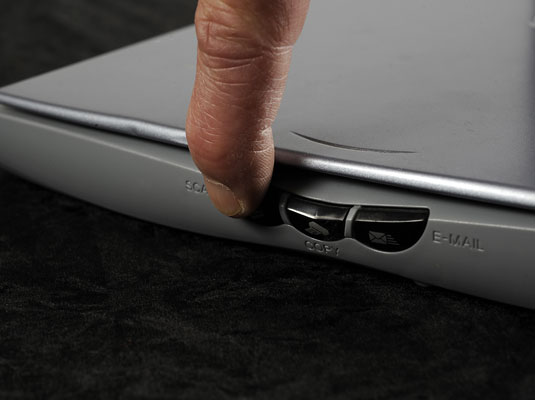
Or, if the scanner lacks a button, run the scanner software in Windows which acquires a digital image.
Preview the scan.
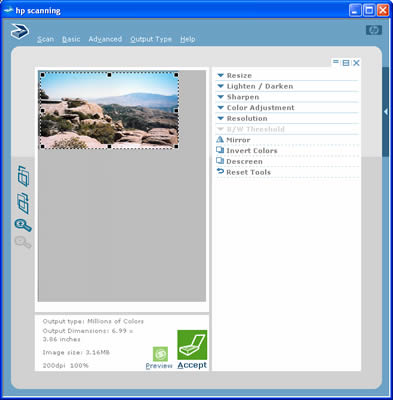
The scanner’s software should display a preview on your computer’s screen.
Select the scan area in the scanner software.

Use a zoom or magnification tool to ensure that you select the proper portion of the scanner glass.
Set other options.
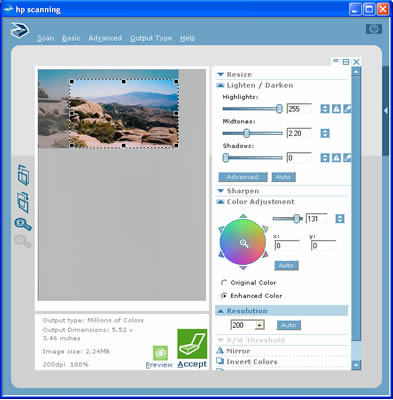
For example, set the type of scan: color, grayscale, or document. You can also set resolution, although the scanner software probably makes the proper adjustment for you. (If not, 200 dpi is good.)
Scan the image.
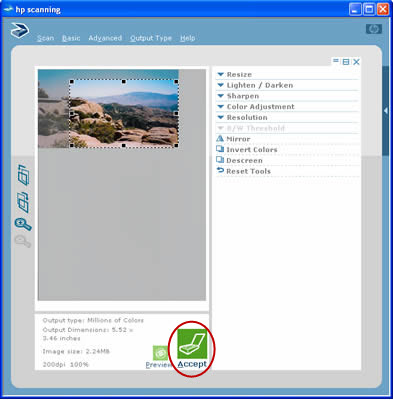
The software should have a button that you need to click to scan the image.
Save the image to disk.
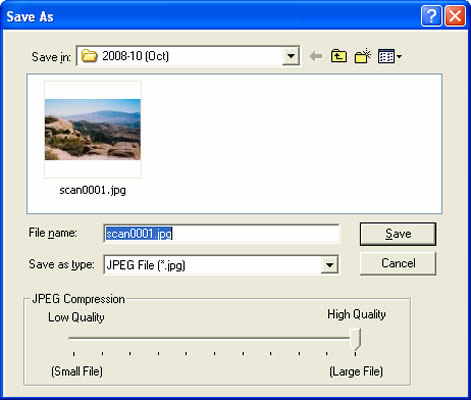
An alternative to saving the image to disk is to open the image in a photo- or image-editing application, where the image can be further refined or edited.


