Every Outlook 2013 module has its own selection of views, as well as its own set of Ribbons. The calendar has (among others) a view that looks calendar-like. The Contacts module includes a view that looks like an address card. All modules enable you to use at least one type of Table view, which organizes your data in the old-fashioned row-and-column arrangement.
Each type of view is organized to make something about your collection of information obvious at first glance. You can change the way that you see a view by sorting, filtering, or grouping. You can organize an endless number of ways and view the information that you save in Outlook.
How you decide to view information depends on what kind of information you have and how you plan to use what you have. You can’t go too wrong with views, because you can easily create new views if the old ones get messed up. Feel free to experiment.
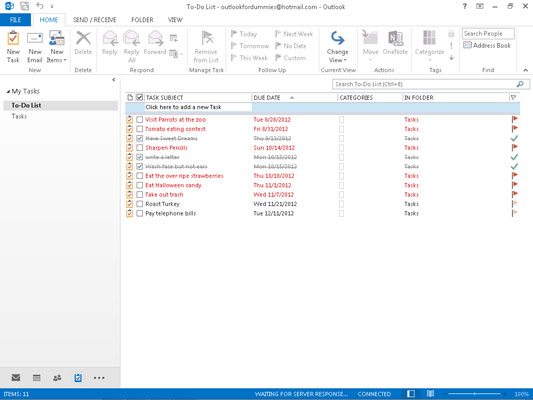
All modules have some version of the Table view — a rectangle made up of rows and columns.

Some Outlook commands also refer to this arrangement as a List view. In either case, if you create a new item (by adding a new task to your Task list, for example), a new row turns up in the Table view. You see one row for each task in the Table view.
The names of Table views often contain the word list, as in Simple list, Phone list, or just list. The word list means that they form a plain-vanilla table of items, just like a grocery list.
Other Table view names start with the word By, which means that items in the view are grouped by a certain type of information, such as entry type or name of contact.
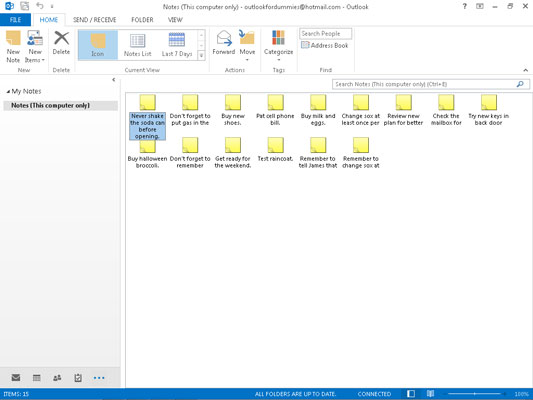
Icon view is the simplest view — it’s just a bunch of icons with names thrown together on-screen.

The only Icon views that come with Outlook are for viewing notes and file folders. An Icon view doesn’t show a great deal of information, and some people like it that way. There’s nothing wrong with using Icon view most of the time; you can easily switch to another view if you ever need to see more.
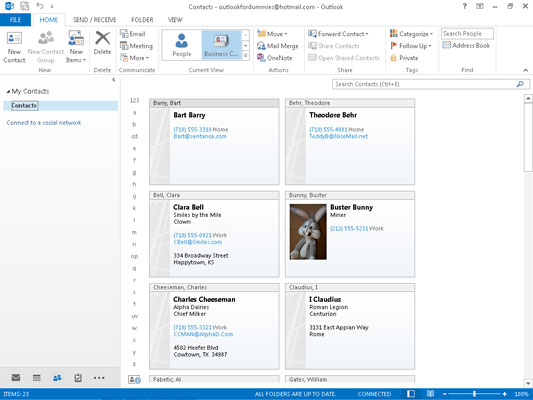
Card view is designed for the People module.

Each contact item gets its own little block of information. Each little block shows a little or a lot of information about the item, depending on what kind of card it is.
The Card view shows you only a few items at a time because the cards are so big. To make it easier to find a name in your Contacts list, type the first letter of the name that your contact is filed under. Before you know it, you see that person’s Address Card.
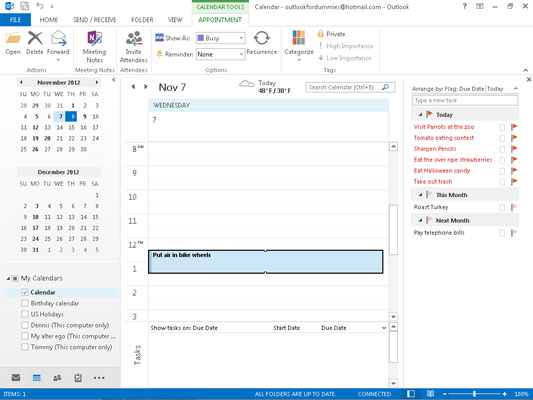
The Calendar has a set of views that are particularly suited to viewing dates and setting appointments.

This view adds Day, Work Week, Week, Month, and Schedule View buttons to the toolbar, enabling you to switch among views easily. All these views also display a monthly calendar. You can click any date in it to switch your view to that date.


