Windows 7 includes a fabulous new feature that is sure to help anyone needing tech support — the Problem Steps Recorder (PSR). Once you know how to use the Problem Steps Recorder in Windows 7, you’ll be able to record exactly what your computer is doing wrong so that you can show whoever you’ve asked for help.
We’ve all been in situations where the computer is doing something it isn’t supposed to do, whether it is the result of a bug or user error. When you call someone for help, they often respond “that’s not possible.” With the new PSR feature you can show them that not only is it possible, it is actually happening.
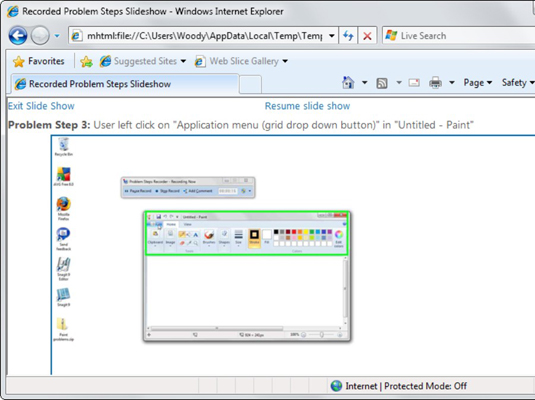
Your friend simply has to log on to Internet Explorer and they can view a slideshow of what you’ve done and how the computer reacted. This simple process will greatly speed up the resolution of computer problems.
Make sure you remember which steps you took to create the problem.
Practice, if need be, until you figure out just how show to your guru friend the sorry state you’re in.
Don’t forget that anything appearing on the screen, even fleetingly, may be recorded, and your friend may be able to see it. So now isn’t the time for checking your bank balance.
Click Start, immediately type psr, and press Enter.
 psr, and press Enter.">
The PSR, which resembles a full-screen camcorder, springs to life.
You can also start the PSR from the Control Panel.
Click Start Record.
The recorder starts. You know it’s going because the title flashes Problem Steps Recorder — Recording Now.
If you want to type a description of what you’re doing, click the Add Comment button.
The recording pauses and the screen grays out a bit. A box appears at the bottom of the screen that says Highlight Problem and Comment. Click the screen wherever you want to draw your guru’s attention, and drag the mouse to highlight the problematic location. Type your description in the box and click OK. Recording continues.
When you’re done with the demo, click Stop Recorder.

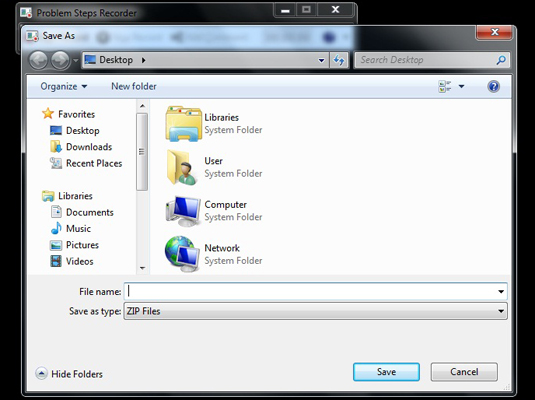
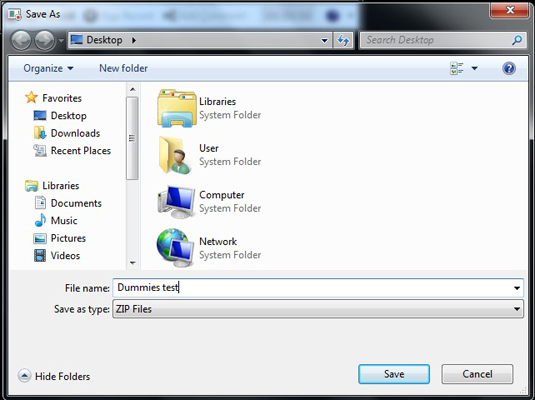
PSR responds with the Save As dialog box.
Type a name for the file (it’s a regular Zip file) and click Save.

Save the recording as soon as you finish it.
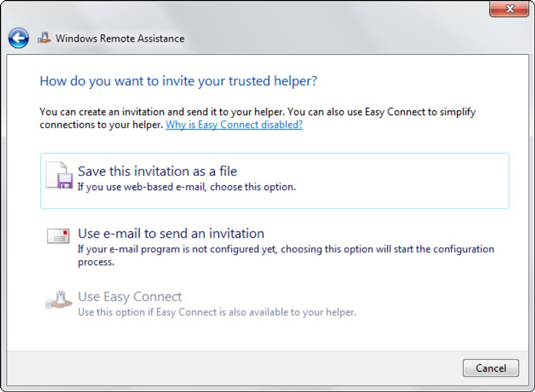
Send the file to your guru friend.
Sneakernet works.
When your friend receives the Zip file, have her double-click it and then double-click the MHT file inside.
You have several options, but one of the most effective is to show the file as a slide show.
Have your friend review the report.

The recording appears as a series of snapshots, along with detailed accounts of what has been clicked and where in plain English.
When you’re done, click the red X button to close the Problem Steps Recorder.
Magical. Now you just have to sit back and wait for them to figure out where the problem is.


