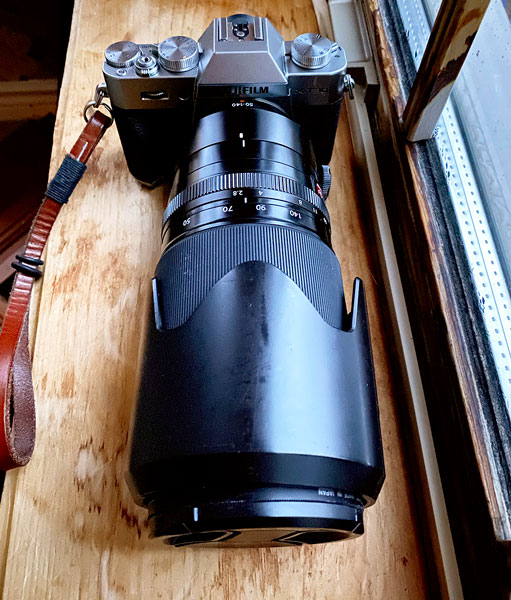
Originally, the ability of cameras to zoom either in or out was only done with a mechanical movement of metal and glass within the zoom lens, similar to the lens pictured in the following figure.
 Example of a zoom lens used on DSLR or Mirrorless style cameras
With the advent of point and shoot cameras, and then mobile device cameras, such as the iPhone, digital zooming was made possible. Digital zoom doesn’t rely on any physical movement of the camera lenses. In simplistic terms, it’s an artificial expansion of pixels (millions of single bits that make up your photo) that simulates the effects of a traditional zoom lens.
The good part of digital zoom is that you can visually bring far away objects closer within your composition. Think of that bird on a distant tree.
Zooming in does have a downside, however. With each increase in digital zoom, the quality of the overall image decreases.
The designers of the various mobile device companies knew about the limitations of digital zooming, which is why they introduced dual-lens mobile device cameras. The first iPhone with two lenses was released in late 2016 and named the iPhone 7 Plus. The addition of a lens that was less wide than the normal iPhone lens allowed photographers to rely less on digital zooming when trying to see far away objects. Picture quality quickly improved in the world of iPhone photography, no doubt because digital zooming was done less frequently.But is digital zooming all that bad? Not really, especially with late-model iPhones. One motto that you may want to keep top of mind: “It’s better to get the shot with technical imperfections than to miss the shot entirely.”
Zooming best practices
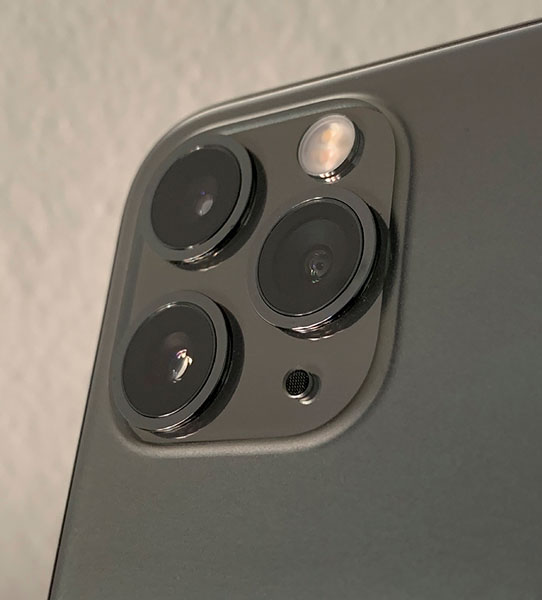
To practice using digital zoom on one of your photos, give the following steps a try after you choose the lens that has the most telephoto view. Take a look at the following figure to see three lens views. Depending on your camera model, choose the lens that visually appears to bring distant objects closer to you. For some iPhone models, it will be called the x2 lens, and for others the x1 lens. Choose the x2 telephoto lens, if possible.
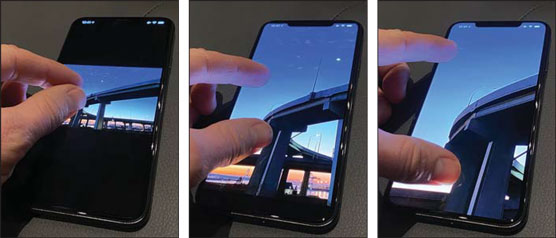
Try these easy steps with your own iPhone to practice the pinch-to-zoom technique, which allows you to view distant objects much closer.
- Open your camera app.
- Choose the x2 lens, if possible; if not, choose the x1 lens.
- Find a scene in front of you that has a distant object that you want to see closer.
- Pinch your finger and thumb and place them on your screen.
- Move your finger and thumb away from each other while still fully touching the screen.
- Stop the digital zoom when you feel your subject is big enough within your composition.
The following figure shows examples of the finger placement needed to perform the pinch-to-zoom technique. Keep in mind that both your finger and thumb need to have constant contact with the screen during the entire zooming process, or it won’t work. This pinch-to-zoom technique works for both zooming in prior to taking the photo and also afterward when you are reviewing your photo, such as what you see here. The pinch-to-zoom process is identical for both taking and reviewing your photos.
 Initiating the pinch-to-zoom technique using your thumb and forefinger.
Crop instead of digital zooming
The following steps are simply a quick tip for alternate zooming results:- Take your photo of the distant object using your most telephoto-view lens.
- Open your Photos app and locate the photo you just created.
- Crop your photo to the extent that you can now see that distant object much better.
At some point, you may hear the term interpolation when talking about digital zoom. Interpolation is a technical word that refers to artificially making a digital photo larger, or you could say making a photo appear to be zoomed-in much more than what the physical lens can naturally produce.
You may be wondering why anyone would crop a photo, which makes it smaller, rather than use the intelligence of the iPhone to create a realistic looking digital zoom. The answer is twofold:- Not too many years ago, digital zoom results were terrible! These days, they’re extremely good due to advancements in image manipulation programming. However, many people remember the old days of poor quality interpolation and are still reluctant to use digital zoom.
- Even though the cropped image is smaller in resolution size, purists would prefer to sacrifice photo size to avoid any image resizing manipulation by the iPhone’s computer.
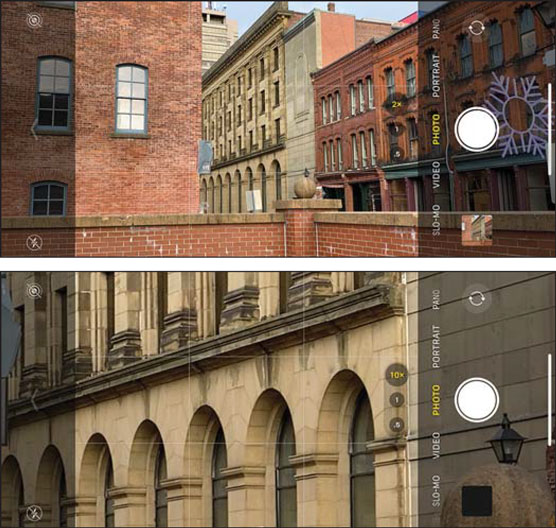
If you have your iPhone with you right now, choose your 2x or 1x lens view and then use the pinch-to-zoom technique to zoom in to 10x to see just how far away you can photograph. Now take the photo and upon review, check out the quality of the 10x zoom photo. It’s not too bad, is it? While not perfect, feel free to use digital zoom to bring those distant objects really close.
If you don’t have your iPhone with you at the moment, the following figure shows just how much zoom you can achieve by using the 2x lens plus 10x digital zoom. Do you see how close the building’s arches appear to be now? It’s a pretty good quality photo for being so far away from the iPhone’s camera.
 The impressive result of extending digital zoom all the way up to 10x magnification.


