The exact procedure for adding a network printer varies a bit, depending on the Windows version that the client runs. The following steps describe the procedure for Windows 10; the procedure for previous versions of Windows is similar:
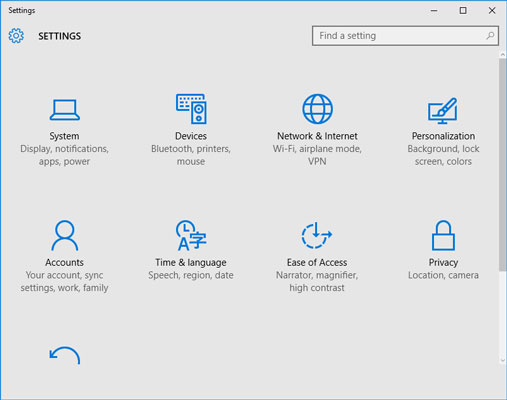
Click the Start icon (or press the Start button on the keyboard), and then tap or click Settings.

The Settings page appears.
Click Devices.

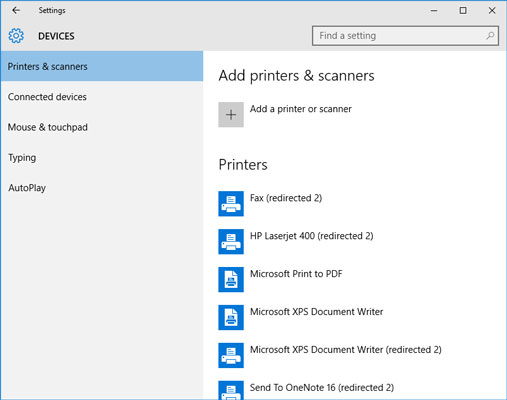
The Devices page appears.
If you’re experienced with the Devices and Printers page from previous editions of Windows, you’ll be happy to know that you can still get to that page. Just scroll down to the bottom of the Devices settings page and click Devices and Printers in the Related Settings section. This brings up the familiar Devices and Printers page, which lists the printers available on your computer. From this page, you can right-click a printer and choose any of the following options:
See What‘s Printing: Displays the list of files that are currently being printed.
Set as Default Printer: Sets the selected printer as the default printer.
Printing Preferences: Sets the printing defaults for this printer.
Printer Properties: Displays and sets the basic printer properties, such as the printer’s name, its port and driver, and so on.
Remove Device: Removes the printer.
Click Add a Printer or Scanner.

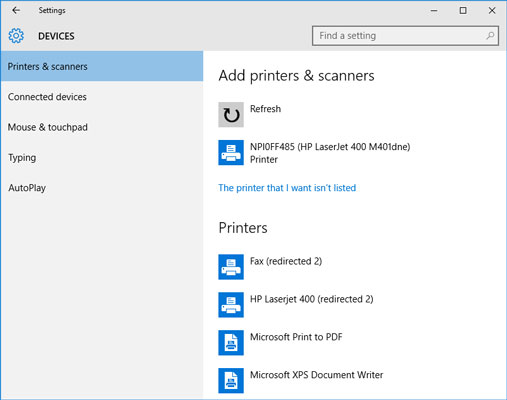
The Printers & Scanners page appears. Windows scavenges your network looking for printers that are available for your use. Any printers that it finds are listed.
Click the printer you want to use.
If you can’t find the printer you want to use, click The Printer That I Want Isn’t Listed and enter the name of the printer or its IP address.
Click Add Device.
The wizard copies to your computer the correct printer driver for the network printer.
You’re done! The network printer has been added to the client computer.


