The easiest way to create group policy objects is to use the Group Policy Management Console, which you can run by clicking Start, and then choosing Administrative Tools→Group Policy Management.
A single group policy object can consist of one or many individual group policy settings. The Group Policy Management Console presents the thousands of group policy settings that are available for your use in several categories. The more you work with group policy, the more these categories will begin to make sense. When you first get started, you can expect to spend a lot of time hunting through the lists of policies to find the specific one you’re looking for.
The easiest way to learn how to use the Group Policy Management Console is to use it to create a simple group policy object. The following procedure, shows you how to create a GPO that defines a group policy that sets the browser’s home page to www.dummies.com.
Choose Start→Administrative Tools→Group Policy Management.
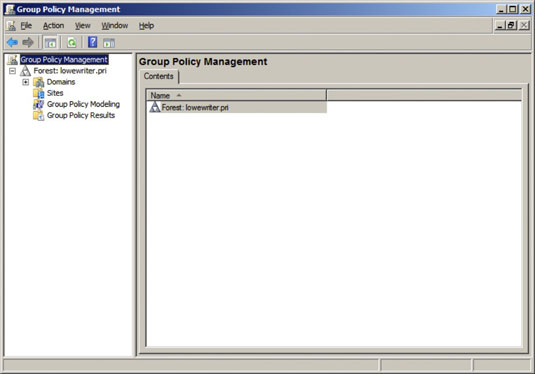
The Group Policy Management console appears. In the Navigation pane, drill down to the Group Policy Objects node for your domain.
Right-click the Group Policy Objects node and then choose New from the menu that appears.
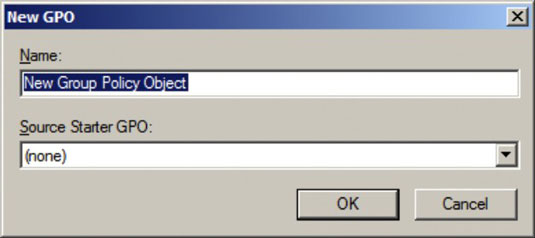
Type a name for the group policy object and then click OK. When you click OK, the group policy object is created.
Double-click the new group policy.
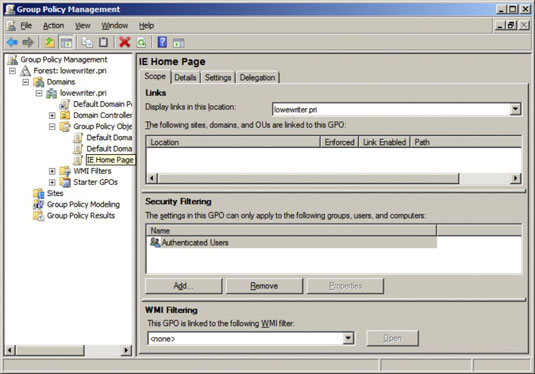
The group policy opens. Note that at this stage, the Location section of the group policy does not list any objects. As a result, this policy is not yet linked to any Active Directory domains or groups, first you must create the policy settings.
Click the Settings tab.
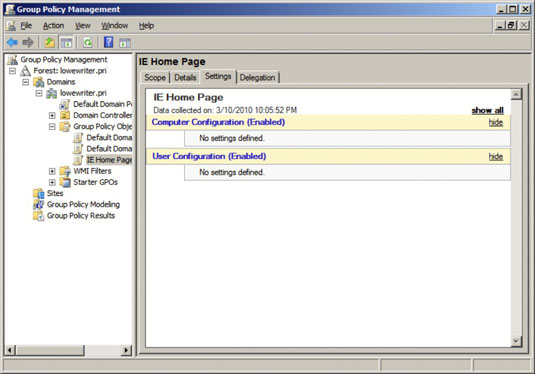
The group policy settings are displayed.
Right-click User Configuration and then choose Edit.
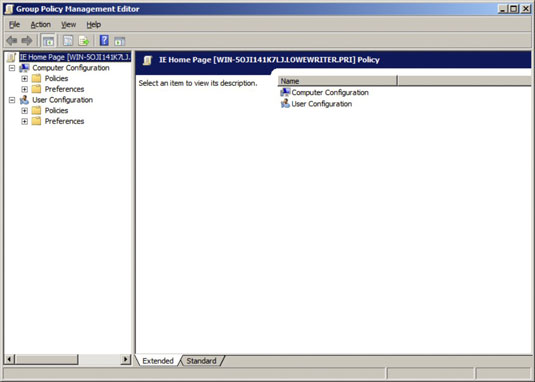
This opens the Group Policy Management Editor to edit the User Configuration policies.
In the Navigation pane, navigate to User Configuration→Policies→Windows Settings→Internet Explorer Maintenance→URLs.
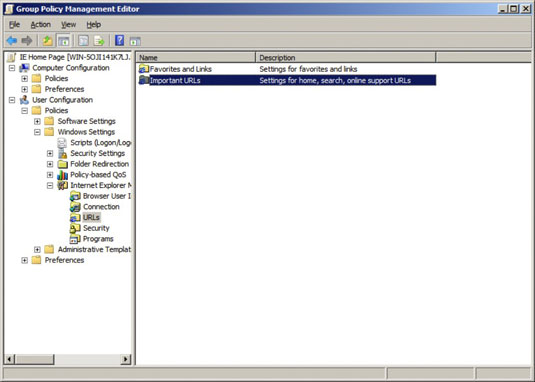
This brings up the Internet Explorer URL settings.
Double-click Important URLs.
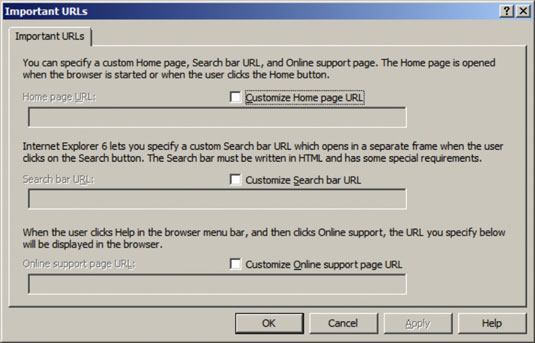
This brings up the Important URLs dialog box. Select the Customize Home Page URL check box. Enter the URL you want to use for the home page. For this example, https://dummies.com was entered. Click OK. You are returned to the Group Policy Management Editor.
Close the Group Policy Management Editor window.
This returns you to the Group Policy Management settings window you opened earlier.
Right-click User Configuration and choose Refresh.

The IE home page policy is now visible.
In the navigation pane, drag the new IE Home Page object to the top-level domain (in this case, LoweWriter.pri).
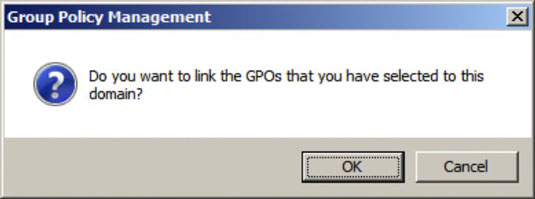
When you release the mouse button, the dialog box shown appears.
Click OK.
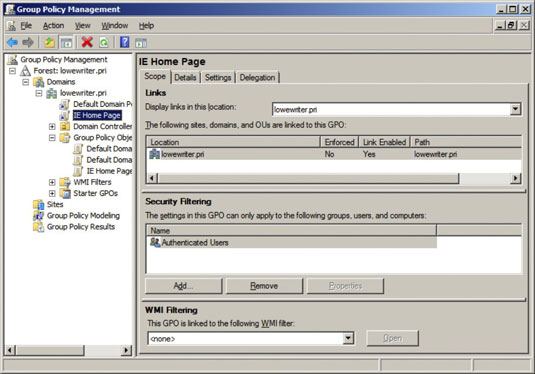
The domain has been added to the scope, as shown.
Close the Group Policy Management window.
The new group policy is now active, so the Internet Explorer home page is now set to www.dummies.com for all users in the domain.


