When you click the Quick Print button, Excel 2013 routes the print job to the Windows print queue, which acts like a middleman and sends the job to the printer. If you want to cancel the print job after Excel finishes shipping it to the print queue, you must:
Right click the printer icon in the Notification area at the far right of the Windows taskbar to open its shortcut menu.

This printer icon displays the ScreenTip 1 document(s) pending for so-and-so.
Right-click the printer icon and then select the Open All Active Printers command from its shortcut menu.

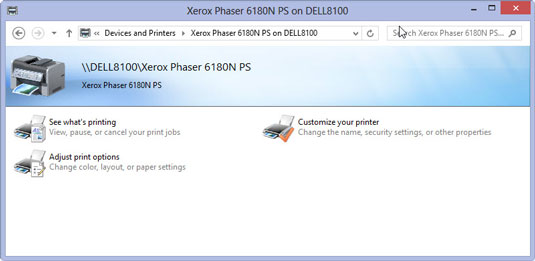
This opens the dialog box for the printer with the Excel print job in its queue (as described under the Document Name heading in the list box).
Select the Excel print job that you want to cancel in the list box of your printer’s dialog box.

While Excel sends the print job to the print queue, Excel displays a Printing dialog box to inform you of its progress (displaying such updates as Printing Page 2 of 3).
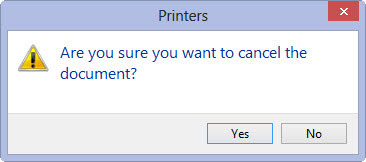
Choose Document→Cancel from the menu and then click Yes to confirm you want to cancel the print job.

To stop the printing while the job is still being sent to the print queue, click the Cancel button in the Printing dialog box in Excel.
Wait for the print job to disappear from the queue in the printer’s dialog box and then click the Close button to return to Excel.

After this dialog box disappears, you are free to go back to work in Excel.


