The first editing technique you need to learn in Excel 2013 is drag and drop. Drag and drop is primarily a technique for moving cell entries around a worksheet, you can adapt it to copy a cell selection, as well.
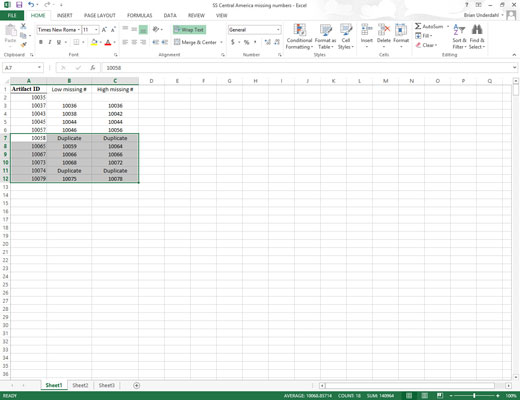
Select a cell range.

Choose the cells you would like to drag and drop.
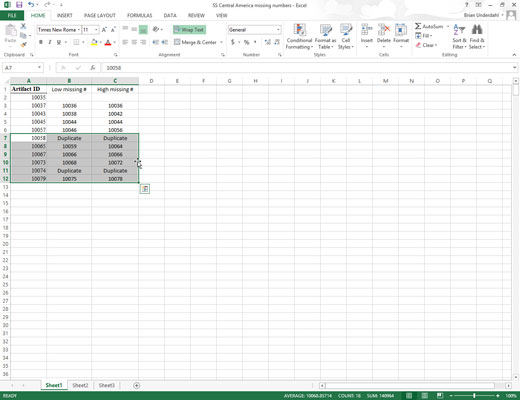
Position the mouse pointer on one edge of the extended cell cursor that now surrounds the entire cell range.

Your signal that you can start dragging the cell range to its new position in the worksheet is when the pointer changes to the arrowhead.
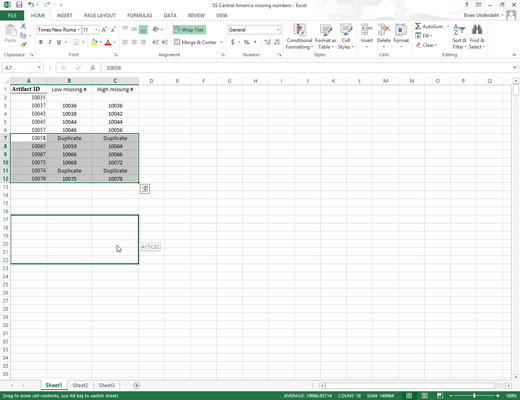
Drag your selection to its destination.

Drag your selection by depressing and holding down the primary mouse button — usually the left one — while moving the mouse.
While you drag your selection, you actually move only the outline of the cell range, and Excel keeps you informed of what the new cell range address would be if you were to release the mouse button at that location.
Drag the outline until it’s positioned where you want the entries to appear (as evidenced by the cell range in the drag-and-drop ScreenTip).
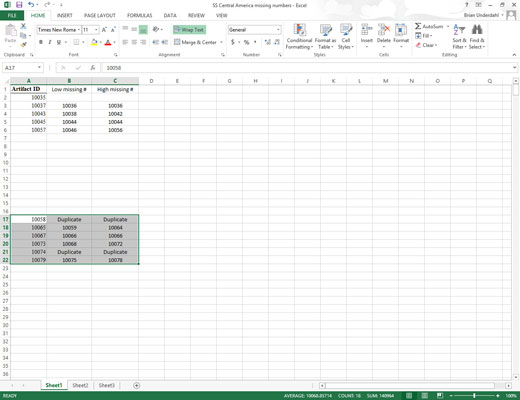
Release the mouse button or remove your finger or stylus from the touchscreen.

The cell entries within that range reappear in the new location as soon as you release the mouse button.
You can see how you can drag and drop a cell range. Here is cell range selected is A7:C12 to move it to row 17 to make room for additional items.


