If selecting gazillions of preset shapes available from the Shapes gallery in Excel 2013 doesn’t provide enough variety for jazzing up your worksheet, you may want to try adding some fancy text using the WordArt gallery, opened by clicking the WordArt command button in the Text group of the Insert tab.
You can add this type of “graphic” text to your worksheet by following these steps:
Click the WordArt button in the Text group on the Insert tab or simply press Alt+NW.
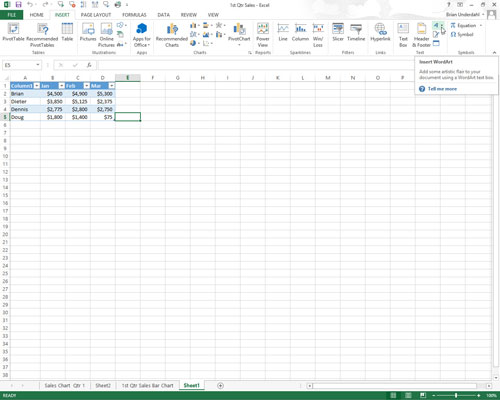
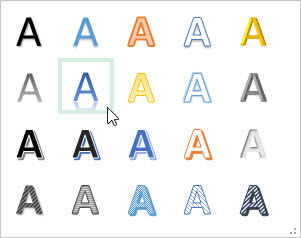
Excel displays the WordArt drop-down gallery.
Click the A thumbnail in the WordArt style you want to use in the WordArt drop-down gallery.
Excel inserts a selected text box containing Your Text Here in the center of the worksheet in the WordArt style you selected in the gallery.
Type the text you want to display in the worksheet in the Your Text Here text box.
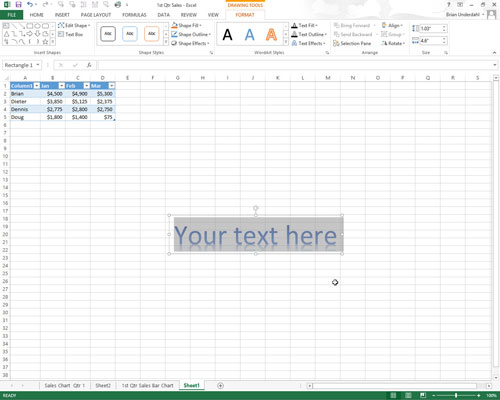
As soon as you start typing, Excel replaces Your Text Here with the characters you enter.
(Optional) To format the background of the text box, use Live Preview in the Shape Styles drop-down gallery on the Format tab to find the style to use and then set it by clicking its thumbnail.
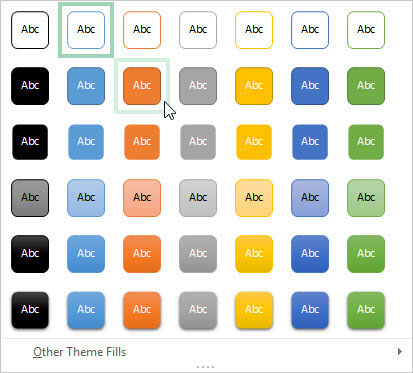
The Format tab under the Drawing Tools contextual tab is added and activated automatically when WordArt text is selected in the worksheet.
After making any final adjustments to the size, shape, or orientation of the WordArt text with the selection and rotation handles, click a cell somewhere outside of the text to deselect the graphic.
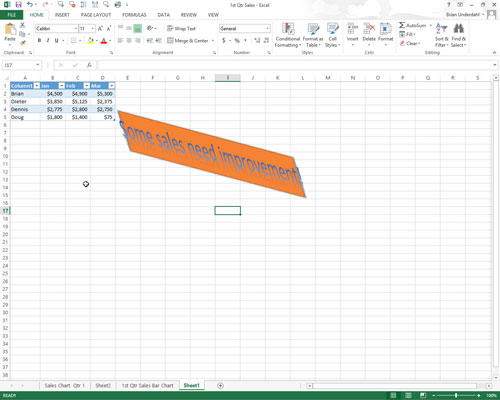
When you click outside of the WordArt text, Excel deselects the graphic, and the Drawing Tools contextual tab disappears from the Ribbon. (If you ever want this tab to reappear, all you have to do is click somewhere on the WordArt text to select the graphic.)
You can change the size of WordArt text and the font it uses after creating it by dragging through the WordArt text to select it and then using the Font and Font Size command buttons on the mini-toolbar that appears next to the selected WordArt to make your desired changes.


