If converting your Excel 2013 worksheets to PDF or XPS files is way too complex for your needs, you can save your worksheets as good old HTML files for viewing and printing in anybody’s web browser (as well as for publishing to your website).
Choose File→Save As or press Alt+FA to open the Save As screen in the Backstage view.

Here you select the place into which to save the HTML file.
Select the drive and folder where you want the web version of the workbook saved.
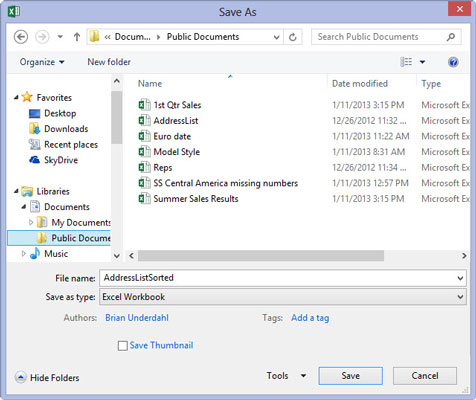
Excel opens the Save As dialog box with the drive and folder you just designated open and selected.
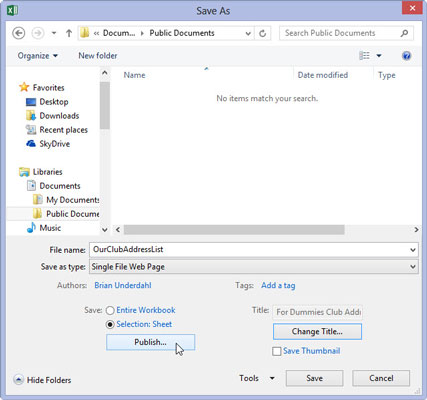
Choose Single File Web Page or Web Page from the Save as Type drop-down menu.
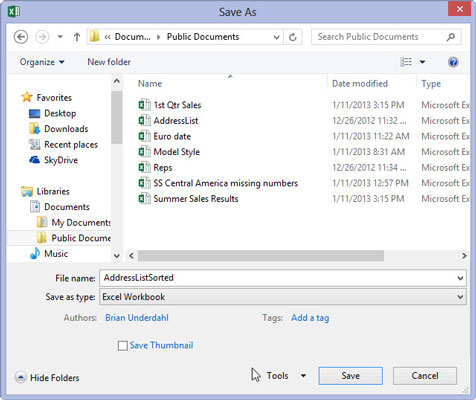
Select Single File Web Page as the file type when your workbook only has one worksheet or you want the data on all the worksheets to appear on a single page. Select Web Page when you want to each worksheet in the workbook to appear on sequential web pages.
When you select either web page option, Excel expands the Save As dialog box to include the Entire Workbook (selected by default) and Selection: Sheet option buttons along with the Page Title text box and Change Title command button.
Next, you need to give a new filename to your web page in the File Name text box. Note that Excel automatically appends the filename extension .htm (for Hypertext Markup page) to whatever filename you enter here. When selecting a filename, keep in mind that some file servers (especially those running some flavor of UNIX) are sensitive to upper- and lowercase letters in the name.
Enter the filename for the new HTML file in the File Name text box.
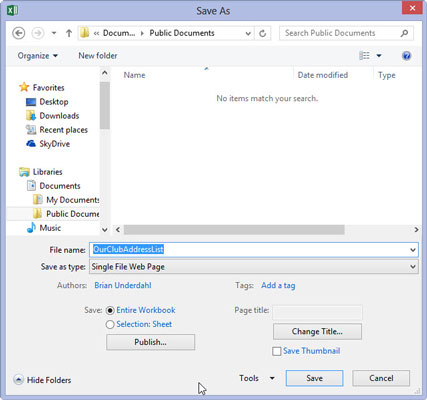
By default, Excel selects the Entire Workbook option button, meaning that all the worksheets in the workbook that contain data will be included in the new HTML file. To save only the data on the current worksheet in the HTML file, you need to take Step 5.
(Optional) If you want only the current worksheet saved in the new HTML file, select the Selection: Sheet option button.
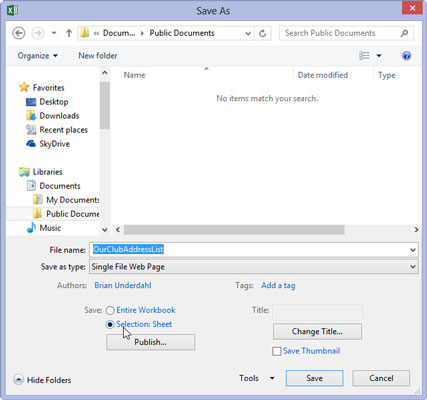
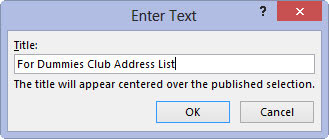
If you want, you can have Excel add a Page title to your new HTML file by taking Step 6. The page appears centered at the top of the page right above your worksheet data.
Don’t confuse the page title with the web page header that appears on the web browser’s title bar — the only way to set the web page header is to edit this HTML tag after the HTML file is created.
(Optional) If you want to add a page title to your HTML file, click the Change Title button and then type the text in the Page Title text box in the Set Page Title dialog box before you click OK.
You’re now ready to save your spreadsheet as an HTML file by clicking the Save button. If you want to see how this file looks in your web browser immediately upon saving it, click the Publish button to open the Publish as Web Page dialog box and save the file from there after selecting the Open Published Web Page in Browser check box.
And if you want Excel to automatically save an HTML version of the worksheet each time you save the workbook, you select the AutoRepublish Every Time This Workbook Is Saved check box as well.
Click the Save button to save the file without opening it in your web browser. Otherwise, click the Publish button so that you can see the web page in your browser right after saving it.
If you click the Save button, Excel closes the Save As dialog box, saves the file to disk, and returns to the Excel window (that now contains the HTML version of your workbook or worksheet in place of the original .xls file).
If you click the Publish button to view the new HTML file in your browser, Excel opens the Publish as Web Page dialog box, where you select the Open Published Web Page in Browser check box before clicking the Publish button.
Select the Open Published Web Page in Browser check box and then click the Publish button.
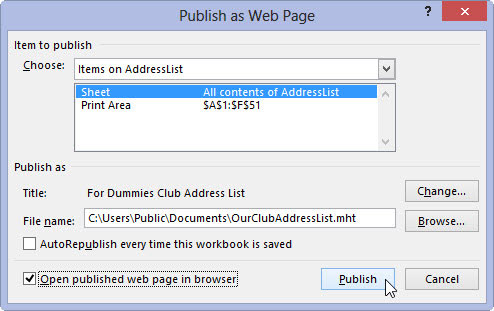
When you click the Publish button, Excel closes the Publish As Web Page dialog box, saves the spreadsheet as an HTML file, and then immediately launches your default web browsing program while at the same time opening the new HTML file in the browser.
After you finish looking over the new HTML file in your web browser, click its program window’s Close button to close the browser and HTML file and to return to Excel and the original worksheet.


