Word 2013 offers a command for comparing the original document to a revised edition and another for comparing two different revised editions of the same document. After you make the comparison, Word creates a third document showing the changes and who made them.
On the Review tab, click the Compare button.
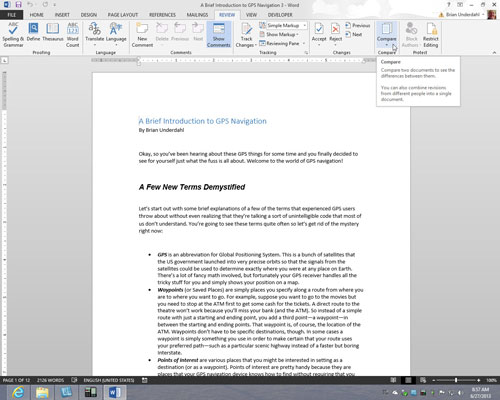
You see a drop-down list. Depending on the size of your screen, you may have to choose Compare more than once to get to the drop-down list.
On the drop-down list, choose Compare to compare the original document to its revised edition; choose Combine to compare two editions of the same document that were revised separately.
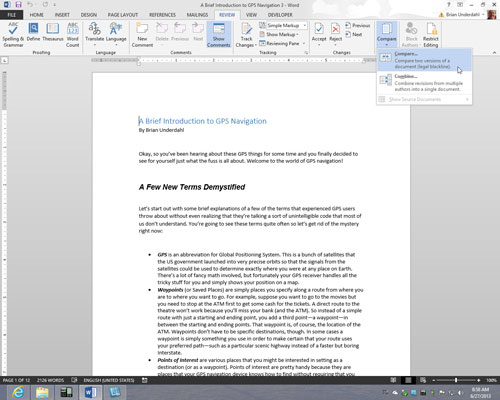
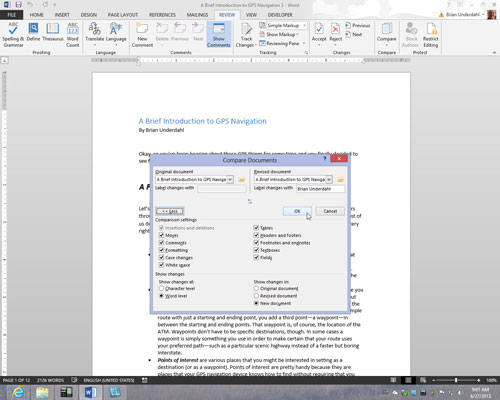
You see the Compare Documents dialog box or the Combine Documents dialog box. These dialog boxes work the same way.
On the Original Document drop-down list, choose the original or a revised edition of the document.
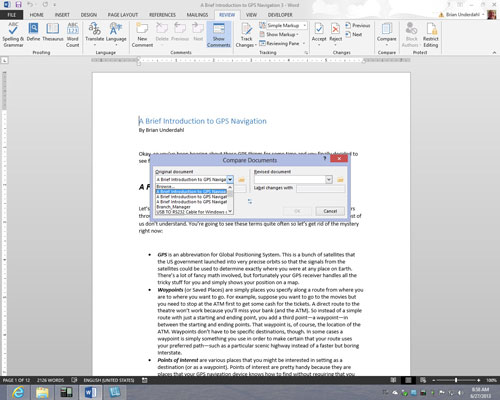
If its name isn’t there, click the Browse button and select it in the Open dialog box.
On the Revised Document drop-down list, choose a revised copy.
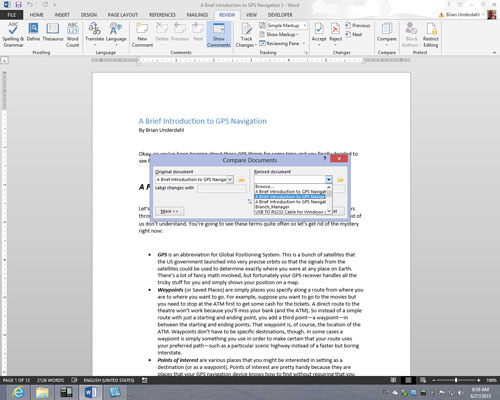
You also can click the Browse button and select it in the Open dialog box.
Click the More button.

You see more options for comparing or combining documents.
If you so desire, deselect Comparison Settings check boxes to tell Word what you want to compare. Click OK.
Word creates a new document that shows where changes were made to the original copy or where the revised copies differ. You can save this document if you want.
To help with document comparisons, you can tell Word what to display in the Source Documents pane on the right side of the screen. On the Review tab, click the Compare button, choose Show Source Documents, and choose an option on the submenu. You can hide the source documents, show the original document, show the revised edition, or show both editions.


