The simplest way to manage incoming mail in Outlook 2013 is just to file it. Before you file a message, you need to create at least one folder in which to file your messages. You only need to create a folder once; it’s there for good after you create it (unless, of course, you later decide to delete it).
You can create as many folders as you want; you may have dozens or just one or two.
To create a folder for new mail, follow these steps:
Click the Mail button in the Navigation bar (or press Ctrl+Shift+I).

The Mail module appears.
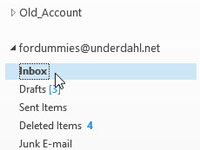
Select the word Inbox in the Folder list.

The word Inbox is highlighted.
Select the Folder tab and click the New Folder button in the Ribbon.

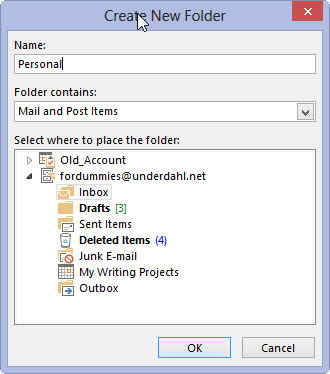
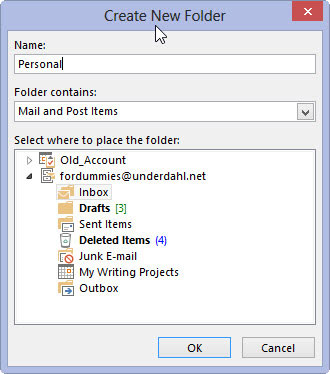
The Create New Folder dialog box appears.
In the Name text box, type a name for your new folder, such as Personal.

You can name the folder anything you like. You can also create many folders for saving and sorting your incoming e-mail. Leaving all your mail in your Inbox gets confusing. On the other hand, if you create too many folders, you may be just as confused as if you had only one.
Click the OK button.

Your new folder appears in the Folder list. You now have a new folder named whatever you entered.


