You can set Outlook 2013 to make Journal entries for nearly everything you do, or you can shut the Journal off entirely and make no entries in it. If you put nothing in the Journal, you get nothing out.
In previous versions of Outlook you could record everything automatically, but that feature is no longer supported in Outlook 2013. You must enter selected items manually: Create a Journal entry and Drag an item to the Journal folder.
Follow these steps to manually record items in the Journal:
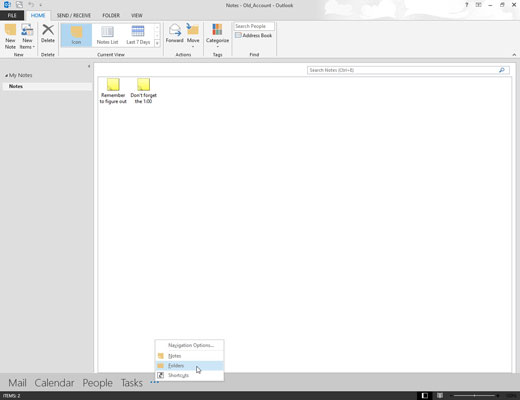
Click Folders in the Navigation pane (or press Ctrl+6).

The Folder list, which has a small icon for the Journal, appears in the Navigation pane.
Drag the item you want to record (such as an e-mail message or task) to the Journal icon in the Folder list.

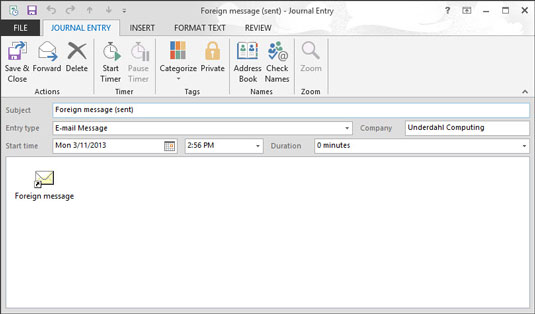
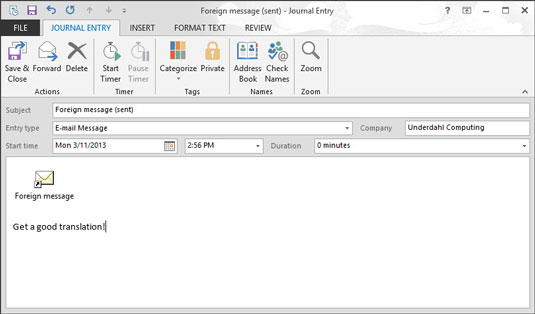
The Journal Entry form shows an icon that represents the item you’re recording, along with the item’s name.
Fill in the information you want to record.

You don’t have to record anything. The text box at the bottom of the screen gives you space for making a note to yourself, if you want to use it.
Click the Save & Close button.

The item you recorded is entered in the Journal. You can see your new entry when you view your Journal.


