You can add several types of objects to the Slide Master in PowerPoint 2013. You can add clip art, pictures, or even a video or sound clip. Anything that you can add to an individual slide can be added to the Slide Master.
To add recurring text to each slide, follow this procedure:
Call up the Slide Master if it’s not displayed already.
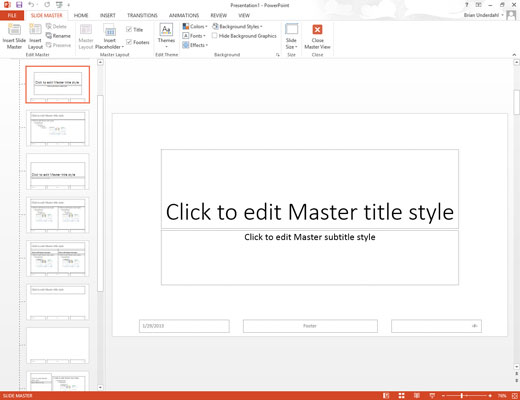
Click Slide Master in the Master Views group of the View tab to call up the Slide Master.
Add a text box to the Slide Master by selecting the Insert tab on the Ribbon and then clicking the Text Box button (found in the Text group).
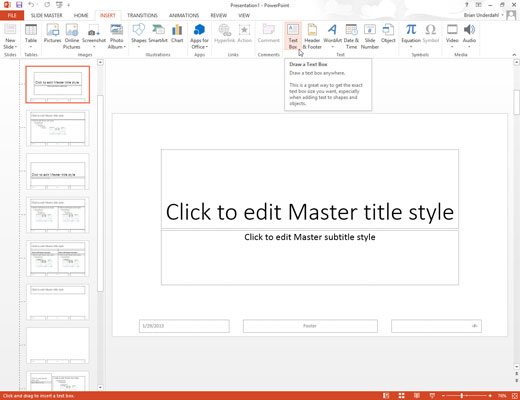
Click where you want to add the text.
Type the text that you want to appear on each slide.
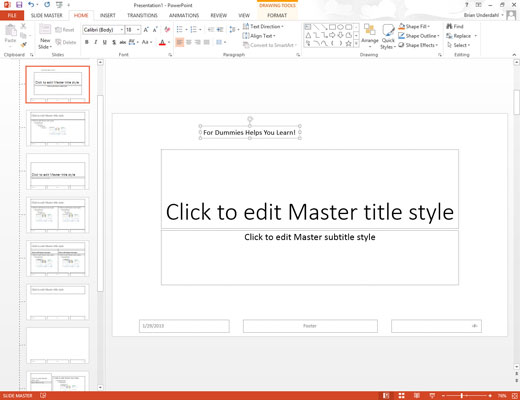
For example, Call 1-800-555-NERD today! Don’t delay! Operators are standing by!
Format the text however you want.
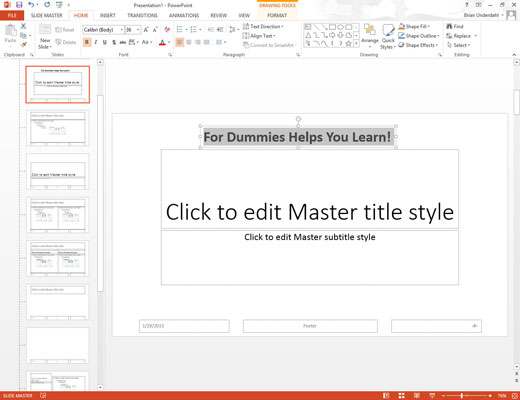
For example, if you want bold, press Ctrl+B or click the Bold button on the Formatting toolbar.
After you place an object on the Slide Master, grab it with the mouse and move it or resize it in any way you want.
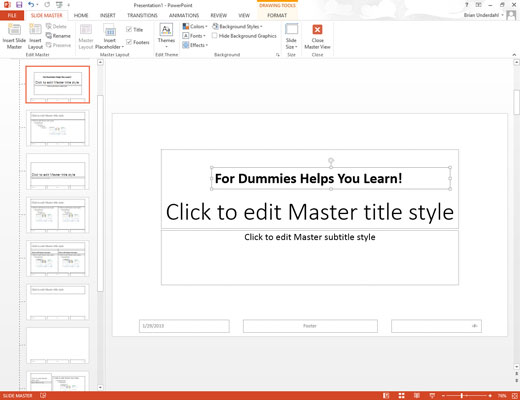
The object appears in the same location and size on each slide.
Click the Normal View button to return to your presentation.
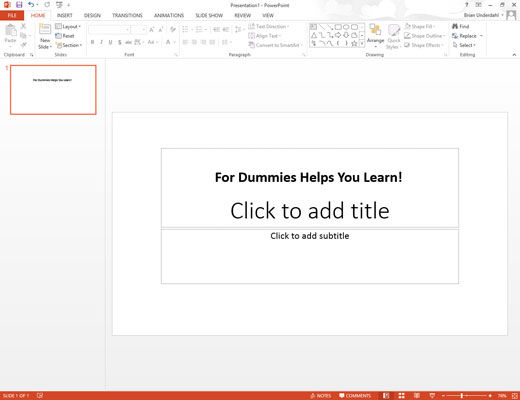
Now’s the time to gloat over your work. Lasso some co-workers and show ’em how proud you are that you added some text that appears on each slide in your presentation.
To delete an object from the Slide Master, click it and press Delete.
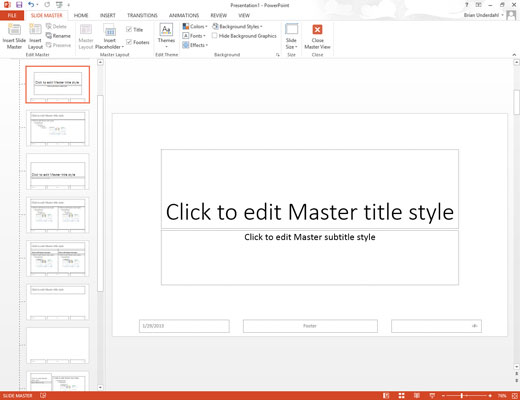
To delete a text object, you must first click the object and then click again on the object frame. Then press Delete. Don’t forget to return to the Slide Master View first!


