Microsoft has endowed PowerPoint 2013 with the capability to have more than one Slide Master. This feature lets you set up two or more Slide Masters and then choose which Master you want to use for each slide in your presentation.
To add a new Master to a presentation, follow these steps:
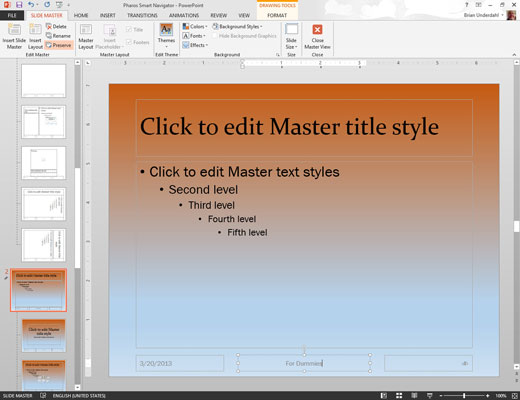
Switch to Slide Master View.

From the View tab on the Ribbon, click the Slide Master button (found in the Master Views group). Or if you prefer, hold down the Shift key and click the Normal View button near the lower-right corner of the screen.
In the Slide Master tab on the Ribbon, click the Insert Slide Master button in the Edit Master group.

A new Slide Master appears. Notice that a thumbnail for the new Slide Master is added to the list of thumbnails on the left side of the screen, and that the new Slide Master uses PowerPoint’s default settings (white background, black text, and so forth).
Modify the new Slide Master to your liking.

You can make any formatting changes you want: Change the background color and text styles, add background objects, and so on.
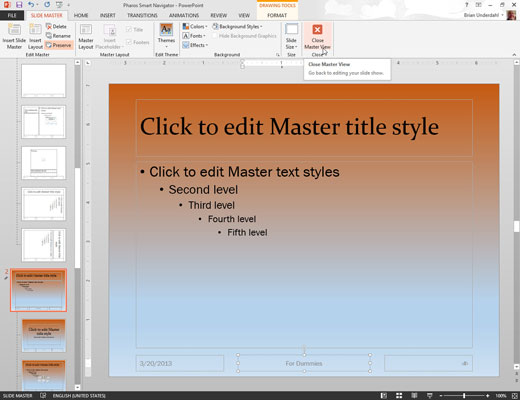
Click the Close Master View button on the Slide Master tab on the Ribbon to return to Normal View.

You can now begin using the new Master that you created.
Another way to create a new Slide Master is to duplicate one of your presentation’s existing Slide Masters. When you do that, the new Slide Master inherits the formatting of the original one. This inheritance can save you a lot of work, especially if you want to create a new Slide Master that varies from an existing one in only a minor way, such as having a different background color.


