


A useful drawing tool in PowerPoint 2013 is the Curve Shape tool, which lets you draw curved lines or shapes. Here’s the procedure for drawing a curved line or shape:
Select the Curve shape tool from the Shapes gallery.
You can find the Shapes gallery in the Shapes group on the Insert tab. When you select this tool, the cursor changes to a cross-hair pointer.
Click where you want the curved line or shape to begin. Click where you want the first turn in the curve to appear.
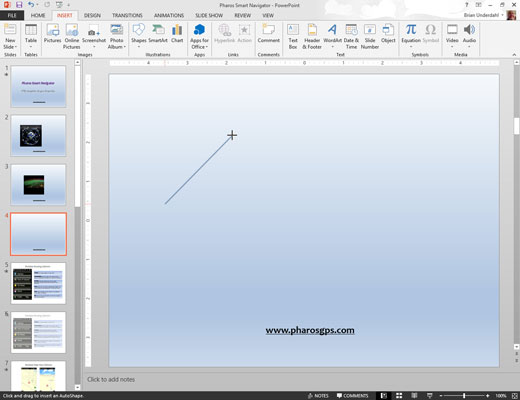
The straight line turns to a curved line, bent around the point where you clicked. As you move the mouse, the bend of the curve changes.
Click to add turns to the curve.
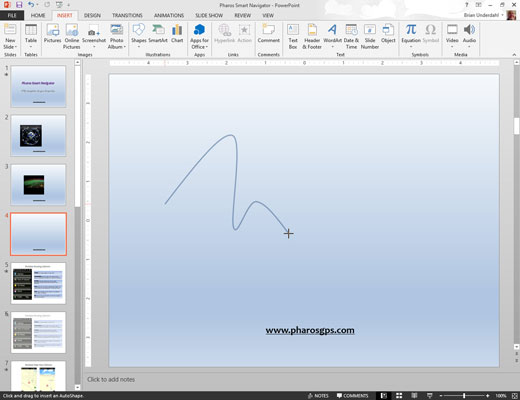
Each time you click, a new bend is added to the line. Keep clicking until the line is as twisty as you want.
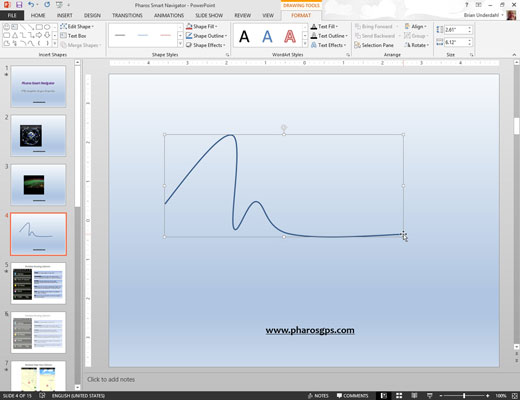
To finish a line, double-click where you want the end of the curved line to appear.
To create a closed shape, double-click over the starting point.


