One of the most useful shapes in the PowerPoint 2013 Shapes gallery is the Freeform Shape tool. It’s designed to create polygons, but with a twist: Not all the sides have to be straight lines. The Freeform Shape tool lets you build a shape whose sides are a mixture of straight lines and free-form curves.
Follow these steps to create a polygon or free-form shape:
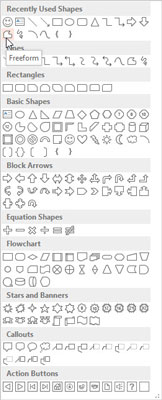
Select the Freeform shape from the Shapes gallery.

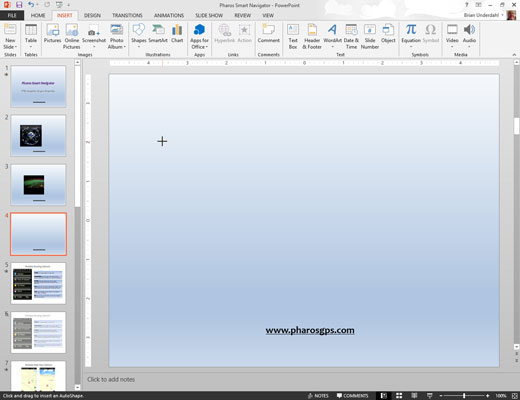
You can find the Shapes gallery in the Shapes group on the Insert tab. When you select the Freeform Shape tool, the cursor changes to a cross-hair pointer.
Click where you want to position the first corner of the object.

Keep clicking wherever you want to position a corner.
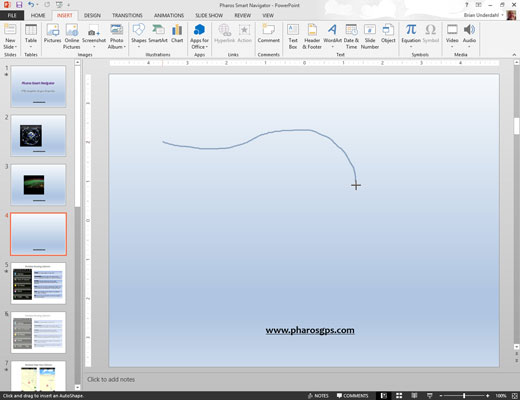
(Optional) To draw a free-form side on the shape, hold down the mouse button when you click a corner and then drag to draw the free-form shape.

When you get to the end of the free-form side, release the mouse button.
You can then click again to add more corners.
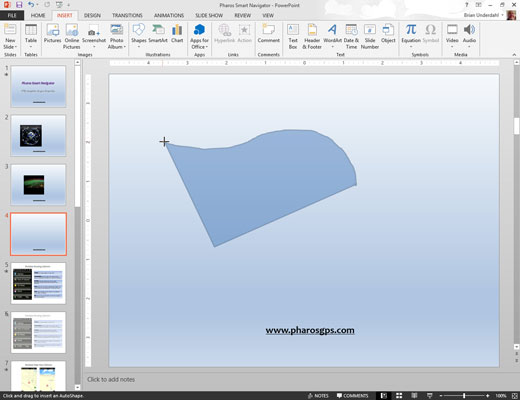
To finish the shape, click near the first corner.

You don’t have to be exact. If you click anywhere near the first corner that you put down, PowerPoint assumes that the shape is finished.
You’re finished! The object assumes the line and fill color from the slide’s color scheme.


