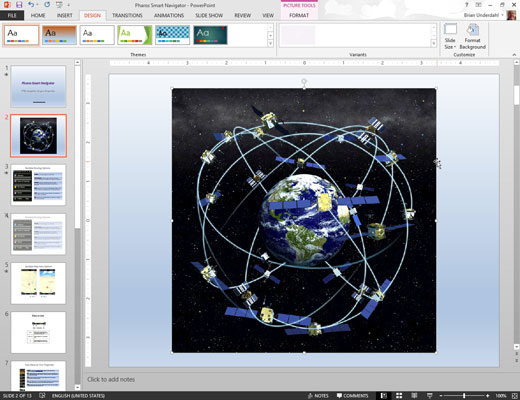
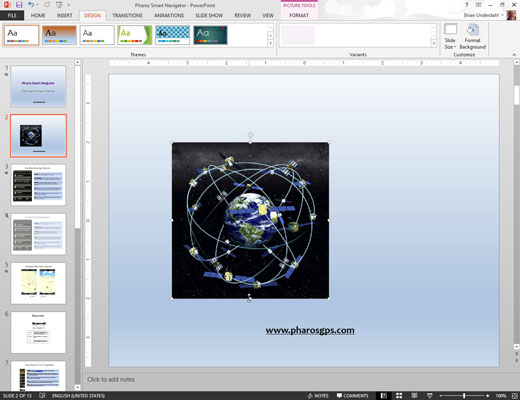
Because PowerPoint 2013 chooses an arbitrary position on the slide to insert pictures, you undoubtedly want to move the clip art to a more convenient location. You probably also want to change the size of the picture if it’s too big or too small for your slide.
Follow these steps to force your inserted clip art into full compliance:
Click the picture and drag it wherever you want.

You don’t have to worry about clicking exactly the edge of the picture or one of its lines; just click anywhere in the picture and drag it around.
Notice the eight handles. Drag one of them to resize the picture.

You can click and drag any of these handles to adjust the size of the picture.
Click one of the corner handles.

You can change the height and width of the picture at the same time.
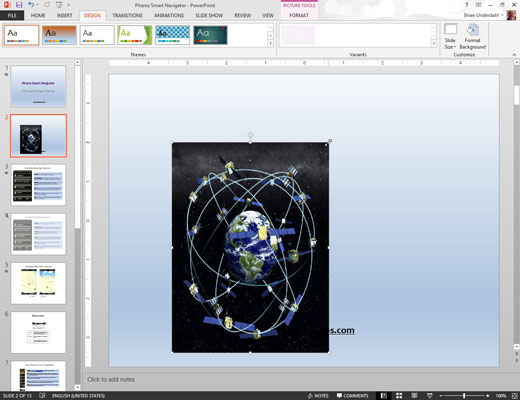
Drag one of the edge handles (top, bottom, left, or right),

This changes the size of the picture in just one dimension; you distort the picture’s outlook as you go.
Stretching a clip art picture by dragging one of the edge handles can dramatically change the picture’s appearance. For example, you can stretch an object vertically to make it look tall and thin or horizontally to make it look short and fat.
When you resize a picture, the picture changes its position on the slide. As a result, you can count on moving it after you resize it. If you hold down the Ctrl key while dragging a handle, however, the picture becomes anchored at its center point as you resize it. Therefore, its position is unchanged, and you probably don’t have to move it.


