Often, you may need to share a PowerPoint 2013presentation with someone who doesn’t own a copy of PowerPoint. Fortunately, PowerPoint includes a Package for CD command that creates a CD with the presentation and a special program called the PowerPoint Viewer that can display the presentation on a computer that doesn’t have PowerPoint installed.
Unfortunately, the PowerPoint Viewer program that’s placed on the CD isn’t able to display all the features of PowerPoint 2013 presentations with the same quality that PowerPoint 2013 displays them. As a result, your presentation may look slightly different when you view it with the PowerPoint Viewer.
To create a CD with your presentation, follow these steps:
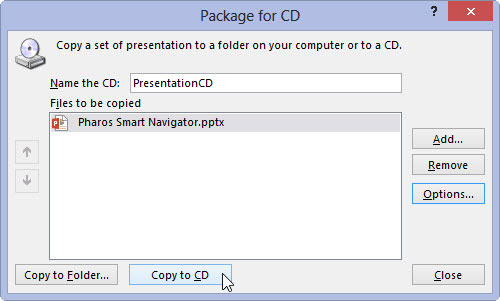
Open the presentation in PowerPoint and then choose File→Export→Package Presentation for CD. Then click the Package for CD button.
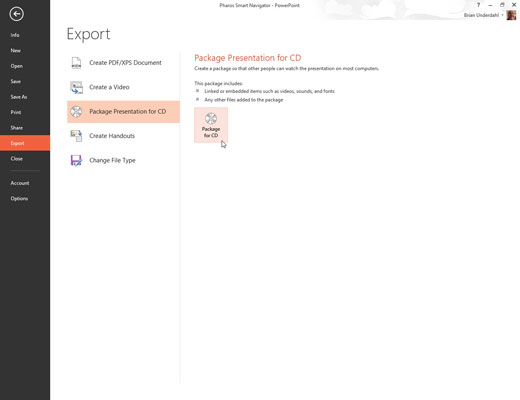
The Package for CD dialog box appears.
Click the Options button.
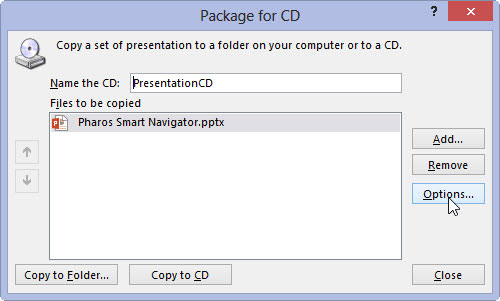
This step summons the Options dialog box.
Look over the options and change any that aren’t set the way you want.
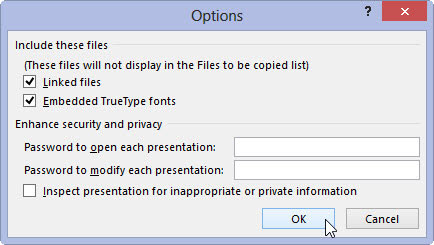
Click OK to return to the Package for CD dialog box.
If you want to add other presentations to the CD, click Add Files, select the files that you want to add, and then click Add.
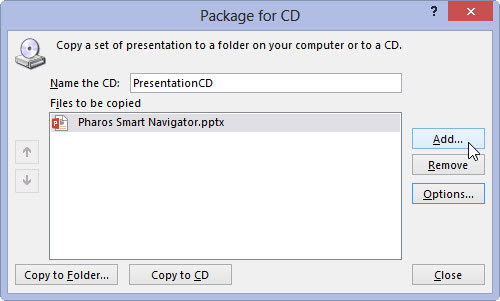
You can put as many files as will fit on the CD. You can add other PowerPoint presentations or any other files you’d like to add to the CD, such as Word documents or text files.
Click Copy to CD.
If you haven’t already inserted a blank CD into the drive, you’re prompted to insert one now. Go ahead and insert a blank CD when prompted.
PowerPoint copies the files to the CD. This might take a few minutes, so now is a good time to catch a few z’s. When the CD is finished, the drive spits it out and asks whether you want to make another copy.
Remove the CD and then click Yes if you want to make another copy.
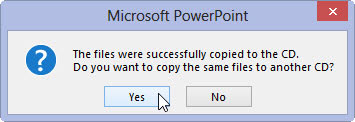
Otherwise, click No and then click Close.
The CD is set up so that the presentation should start running all by itself when you insert it into a computer.


