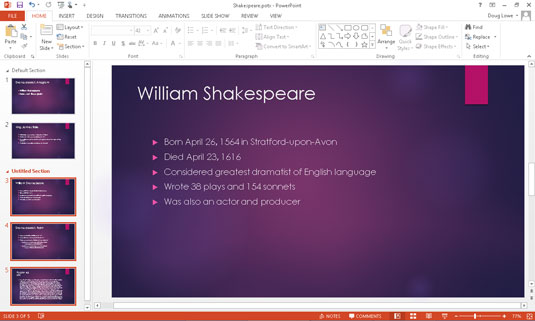
Sections in PowerPoint 2013 let you divide a presentation into two or more groups of slides. Sections are designed to be used with large presentations that contain a large number of slides that can easily be grouped into logical groupings.
Using sections couldn’t be easier. To create a new section in your presentation, just select the first slide that you want in the new section, switch to the Home tab, click the Section button (found in the Slides group), and then choose Add Section. The new section appears in the Slide thumbnail area with the name Untitled Section.

After you’ve created one or more sections in your presentation, you can do several interesting things with the sections:
You can select all the slides in a section by clicking the section header in the Slide Thumbnail pane.
You can collapse or expand the sections in the Slide Thumbnail pane by clicking the arrow at the left of the section header.
You can rename a section by right-clicking the section header and choosing Rename Section.
You can move all the slides in a section by dragging the section header to a new location in the Slide Thumbnail pane.
You can delete the slides in a section, as well as the section itself, by clicking the section header to select the section and then pressing the Delete key.
You can remove a section without deleting its slides by right-clicking the section header and choosing Remove Section.
During a slide show, you can go to the first slide in any section by clicking the Menu icon in the bottom-left corner of the slide, then choosing Go To Section and selecting the section you want to go to.


