With SharePoint Online you can get up and running with a trial in minutes. SharePoint Online comes bundled with Office 365. The easiest way to get started is to sign up for a free trial of Office 365. Here’s how:
- Open your favorite web browser and go to the Microsoft Office 365 website.
The Office 365 Home page appears.
 The main office.com landing page.
 - Click the red button that says “Get Office.” To get SharePoint, you will need a business plan subscription.
- Click the For Business tab to see the available business plans.
In the table that appears, you will see that the Office 365 Business Essentials plan comes with the SharePoint service and is $5 per month. We prefer using the latest Office clients like Word, Excel, Outlook, and PowerPoint, so we will choose the Office 365 Business Premium plan.
 Choosing an Office 365 business plan.
 - Scroll down to the bottom of the page and click the “Try for free” link. A welcome screen appears that asks for your information.
- Walk through the wizard, providing your information as needed, in order to get up and running with Office 365 and SharePoint Online.
Note that as a business name you can just use your own name and choose that your business size is 1 person. You will then choose a domain name, which is <your choice>.onmicrosoft.com. This is your Office 365 domain. In our example, we chose sp2019fd.onmicrosoft.com for our domain. You can always add a custom domain later if you prefer. For example, we might connect sharepoint2019fordummies.com to our Office 365 account and get emails there, too.
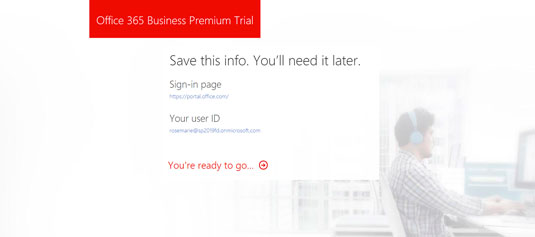
 Completing the sign-up process for the free trial.
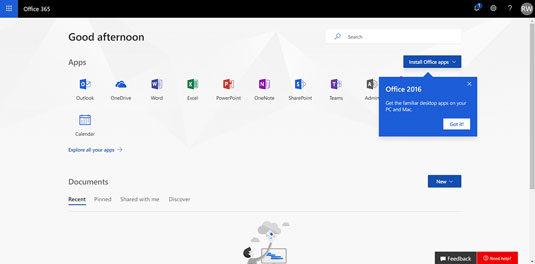
When you first land on your Office 365 dashboard, you will see a quick tutorial and then be presented with the Office 365 main landing page, as shown.
 The main Office 365 landing page.
If you want to learn more about Office 365, we recommend checking out Office 365 For Dummies, 3rd Edition.
In this case we are focused on SharePoint, so let's crack it open and get started.- Click the SharePoint icon in the Apps section of your dashboard. Because this is the first time you are opening SharePoint Online, you will be presented with a quick tutorial. After you finish the tutorial, you will be presented with a welcome screen for SharePoint and an easy way to create your first site, create a post, or install the SharePoint Mobile App. Right now, we just want to create our very own SharePoint site.
- Click the “Create site” link at the top of the page, as shown.
You will be given a choice: create a team site or create a Communications site.
 The SharePoint landing page where you can create a new site.
 - Choose team site and give the new site a name.
The dialog box that appears provides a group email alias for the site and shows you the URL you will use to access the SharePoint team site. You can also provide a description and set basic privacy settings.
 Creating a new SharePoint site.
 - Click Finish in the next dialog box that appears.
In this dialog box, you are able to add any additional owners or members of the team site. In our case, we are the only user of our new Office 365 subscription right now.
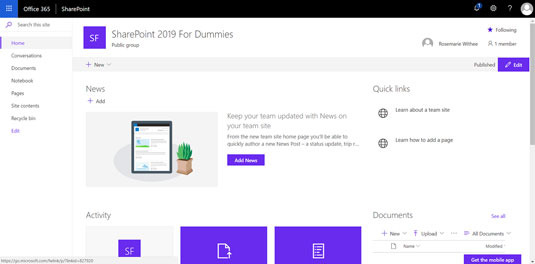
Congratulations! Just like that you are up and running with your very own SharePoint site (see the following figure). Feel free to start clicking around and exploring it. A new SharePoint team site.
You can always get back to your Office 365 dashboard and your SharePoint site by opening your web browser and going to www.office.com and logging in with the user you created.
If you are using SharePoint Server 2019, your IT team has likely installed SharePoint at your office location. Since the installation is at your local company premises instead of in a Microsoft data center somewhere, the term for this version is aptly called on-premises. If your organization is using SharePoint on-premises, your IT team will have likely created your SharePoint site for you and sent you a link to access it.


