The fastest, easiest way to cancel a print job in Word 2013 is to rush up to the printer and touch the Cancel button. Sometimes, the button has a red X icon on it. Touch that button, and the printer will stop — maybe not at once, but the button cancels the document from printing.
A more awkward way to cancel a print job is to use Windows. This method involves quite a few steps, and it’s not always successful. That’s because most documents are small and zip off to the printer before you have time to stop them. But if you want to try, obey these steps:
Double-click the li’l printer icon by the current time on the taskbar.

If you don’t see the li’l printer icon, it’s too late to cancel the print job by using this technique. Otherwise, you see the printer’s window, which lists any queued printing jobs.
Click the name of your Word document job on the list.
Highlight the job you wish to cancel.
From the window’s menu, choose either the Document→Cancel command or the Document→Cancel Printing command.

Either option will work.
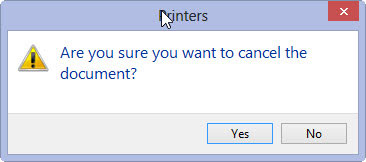
Click Yes or OK to terminate the job.

This will terminate the job.
Close the printer’s window when you’re done.

It may take a while for the printer to stop printing. That’s because the printer has its own memory, and a few pages of the document may be stored there and continue to print even after you tell the printer to stop. (Stupid printer — stupid.)
Stopping a print job is a Windows task, not one that Word has control over.
If you’re using a network printer, you may not be able to cancel printing. Oh, well.


