Nothing makes a Word 2013 document title nice and crisp like having it sit squat in the center of a page. The title is centered left to right, which you can do by selecting Center alignment for the title’s paragraph. But how about centering the title top to bottom?
If you’re thinking about whacking the Enter key 17 times in a row to center a title top to bottom, stop! Let Word do the math to make the title perfectly centered. Here’s how:
Move the insertion pointer to the start of your document.
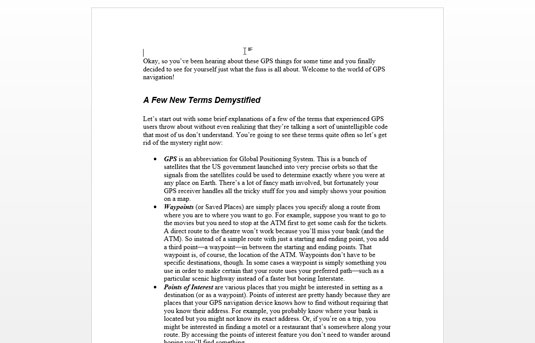
The Ctrl-Home key combination moves you there instantly.
Type and format your document’s title.
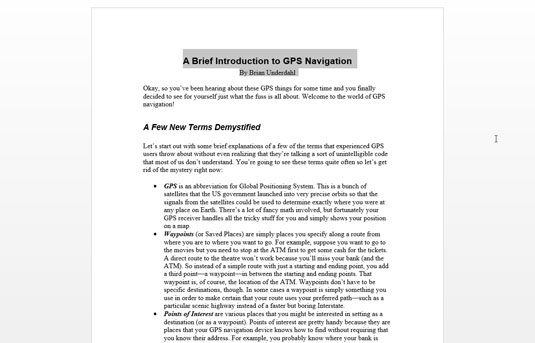
It can be on a single line or on several lines.
To center the title, select it and press Ctrl+E, the Center keyboard shortcut. Apply any additional font or paragraph formatting as necessary.
Avoid the temptation to press the Enter key to add space above or below the title. Such space isn’t needed, and would wreck Word’s automatic centering powers.
Insert a section break after the title's last line: On the Page Layout tab, choose Breaks→Next Page from the Page Setup area.
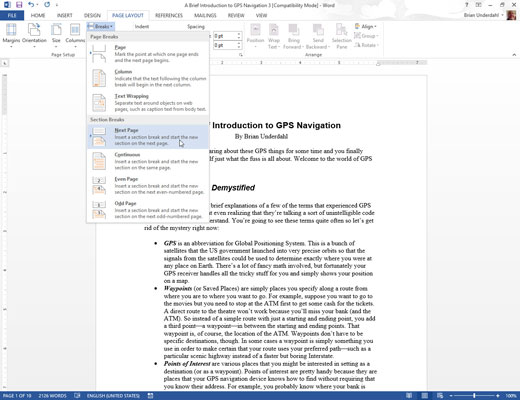
The section break ensures that only the first page of your document is centered from top to bottom.
Ensure that the insertion pointer is again on the document’s first page.
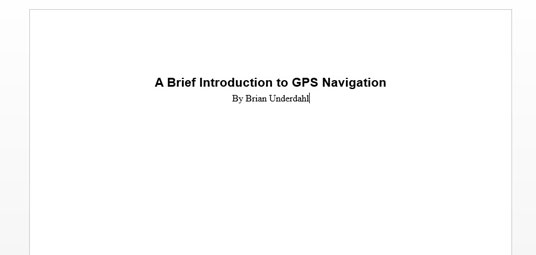
You need to be on the page you want to format.
Summon the Page Setup dialog box: Click the Page Layout tab, and choose the dialog box launcher from the lower-right corner of the Page Setup area.
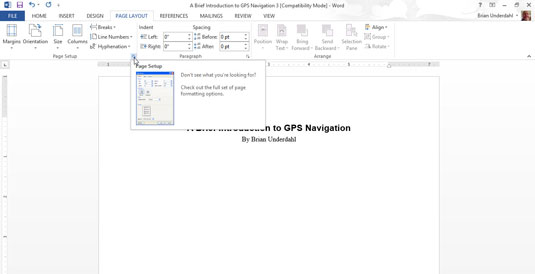
The Page Setup dialog box appears.
Click the Layout tab.
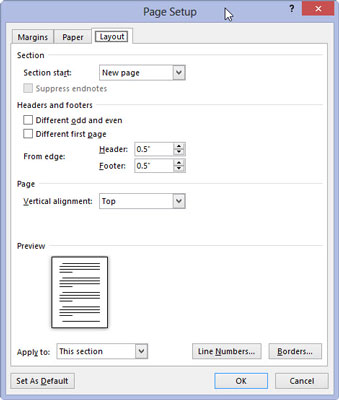
Find the Vertical Alignment drop-down list.
Select Center from the Vertical Alignment drop-down list.
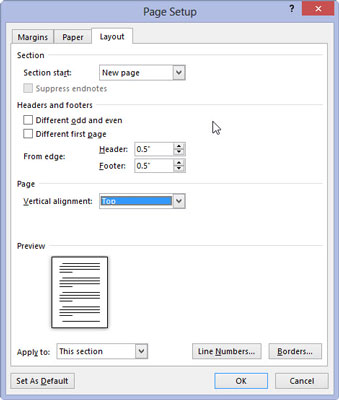
You can find this item in the bottom half of the dialog box.
Confirm that the Apply To drop-down list shows This Section and click OK.
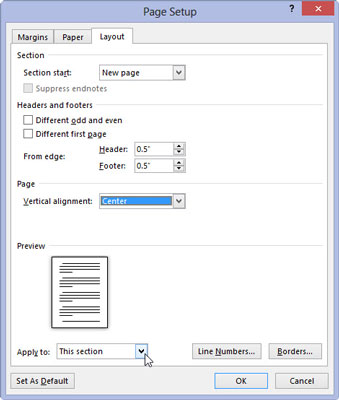
This chooses the section you need centered.
The first page of the document will be centered from top to bottom.


