Rome wasn’t built in a day, but building your own document template in Word 2013 can take even less time. That’s because you can easily create a template based on a document you’ve already slaved over. So when the formatting and styles and all that junk have already been created, making a template is a snap — and it doesn’t require a large army or navy or any ambitious politicians.
To make a template based on a document you already created, follow these steps:
Find or create the document.
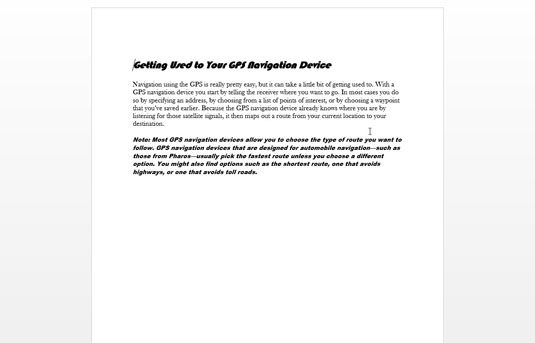
Choose one that has styles or formats or text that you plan to use repeatedly.
Strip out any text that doesn’t need to be in every document.
The template should contain only the styles you need for that document, plus any text that’s common to all documents.
Click the File tab.
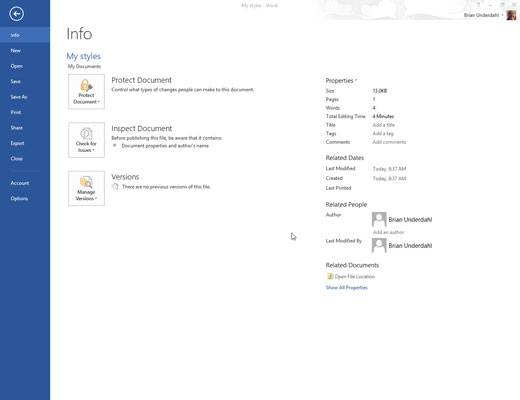
This will give you File options.
On the File screen, choose the Save As command.

Don’t worry about choosing the document’s location. All Word templates are saved in a predefined folder, and Word automatically chooses that location for you.
Click the Browse button.
The Save As dialog box appears. It’s the same Save As dialog box that Word uses for saving everything.
Type a name for the template.
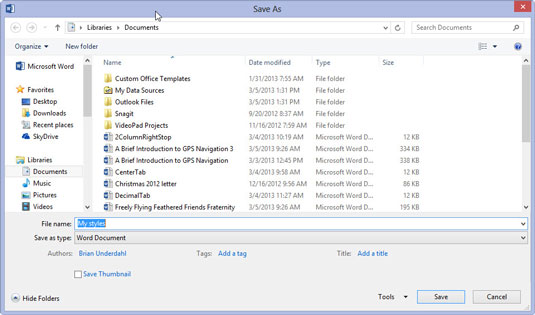
Type the name in the File Name box. Be descriptive.
You don’t need to name the template by using the word template.
From the Save As Type drop-down list, choose Word Template.
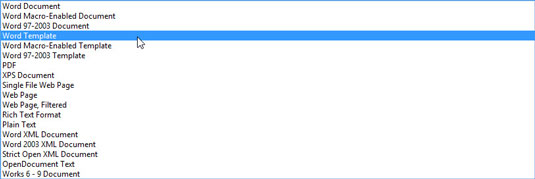
Ah-ha! This is the secret. The document must be saved in a document template format. That’s what makes a template superior over a typical, boring Word document.
Click the Save button.
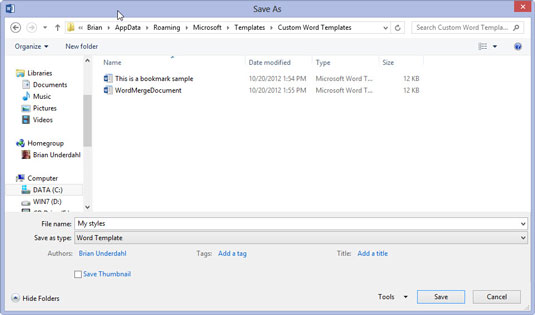
Your efforts are saved to disk as a document template, nestled in the proper place where Word keeps all its document templates.
Close the template.
The reason for closing it is that any changes you make from now on are made to the template. If you want to use the template to start a new document, you choose that template from the New window.


