


The Cover Page command in Word 2013 is quick, but you may not like any of the design options. In this case, you can create your own cover page, spiffing it up with formatting commands, graphics, artwork, and other goodies.
Here are the general steps to take:
Before writing the cover page, position the toothpick cursor at the tippy-top of the document.
This step applies whether you’ve written the document or not. If you’ve already written the cover page, position the toothpick cursor at the end of the page. And if you’ve put in a hard page break after the cover page, delete it.
Create a new, Next Page section break in your document.
The document now has two sections, and the first page is its own section.
Create the cover page.
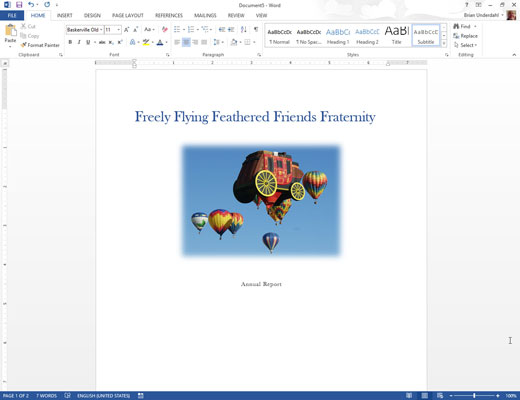
Add a title, additional text, graphics, and various document froufrou.
On the second page, at the start of the new section, set the page numbering for the rest of the document.
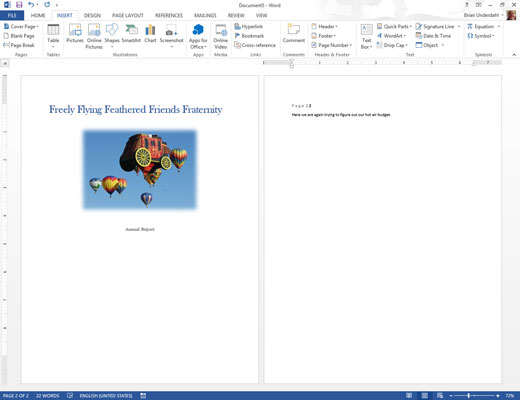
Because the cover page is its own section, the page numbering you apply to the second section doesn’t affect the cover page. If you want the cover page numbered, dispense with sections and use a hard page break instead. Number the entire document.


