The Style Gallery in Word 2013 appears on the Home tab and is entirely customizable. If you’re going to the trouble of creating your own template with your own styles, why not modify the template so that you can put your styles in the Style Gallery?
Start by purging styles you don’t want in the Gallery:
Click the down-pointing arrow to reveal the entire Style Gallery.
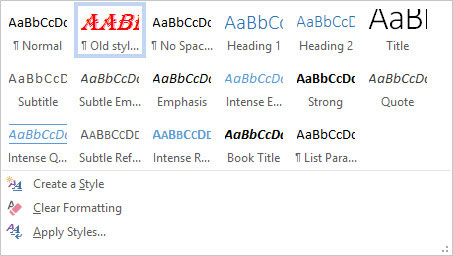
Styles are in the Styles group on the Home tab of the ribbon.
Right-click a Style tile.
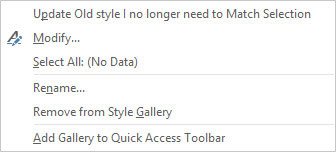
Word displays a pop-up menu of actions you can apply to the selected style.
Choose the command Remove From Style Gallery.
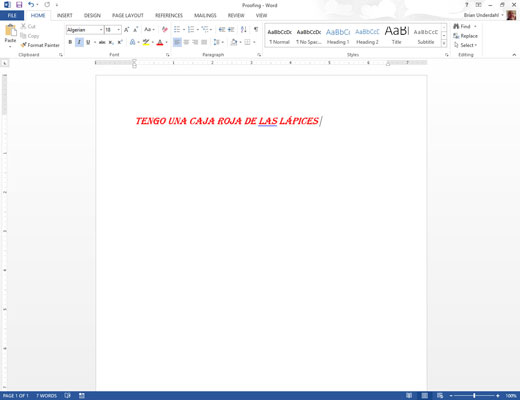
Poof! It’s gone.
To add your own styles, start by applying the formatting you want to some text in your document.
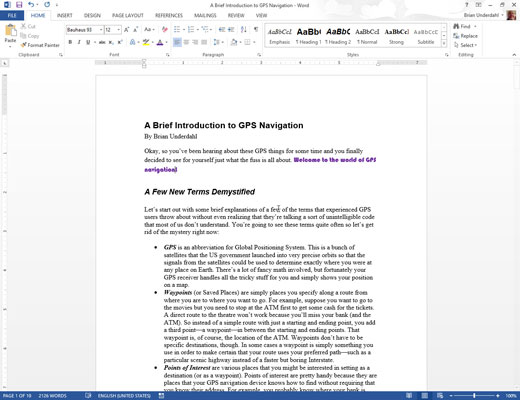
Add any formatting options that you want included in the style.
With the formatted text selected, click the down-pointing arrow to display the Style Gallery and choose Create a Style to display the Create New Style from Formatting dialog box.
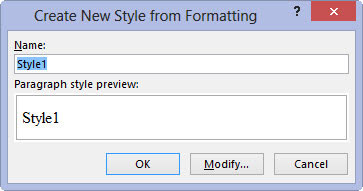
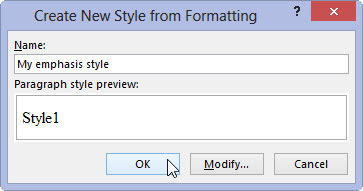
Type a descriptive name in the Name text box for the style you want to add to the Style Gallery.
Click OK to add your style to the Style Gallery.
That’s it!


