You can do only one task in Word 2013 in the Tabs dialog box that you cannot do with the ruler: Set a leader tab stop. What exactly is a leader tab stop? A leader tab stop produces a row of dots where the tab character appears. This trick is the only way to get a tab character to appear in your document, and it’s quite useful.
You can apply a leader to any tab stop in Word other than the bar tab. To add the dot leader to a tabbed list you have created, follow these steps:
Select the text.
There are a number of ways to select text. Use whatever method you find most comfortable.
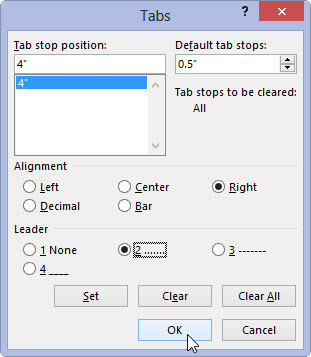
Bring forth the Tabs dialog box.
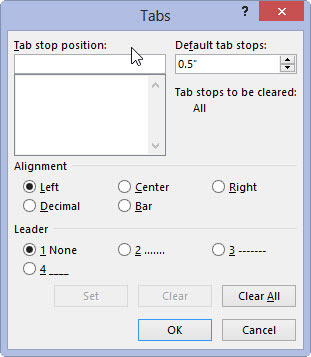
The Tabs dialog box offers tab options.
Select the tab stop from the Tab Stop Position list.
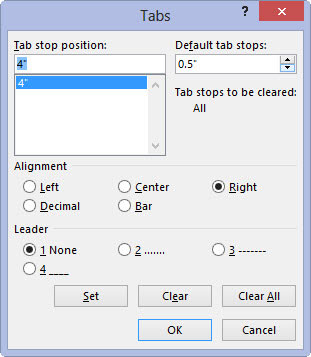
The right tab stop shows up in the Tab Stop Position list as 4″ (create a right tab stop at 4 if it doesn’t already exist). Click to select that item in the list.
In the Leader area, choose the leader style.
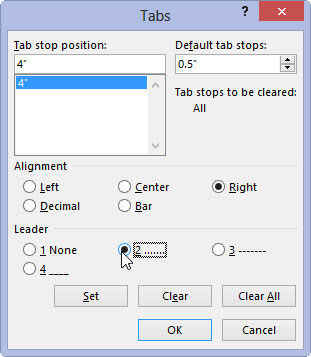
None means no leader, and it’s selected already. Choose one of the other three options.
Click the Set button.
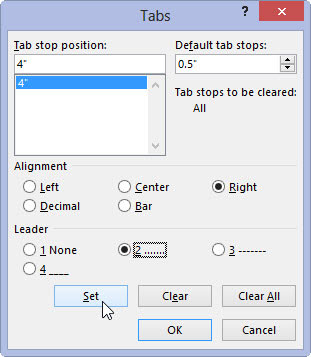
Don’t click OK before you set the tab stop to add the leader. This step is the one you’ll screw up most often.
Click OK.
After clicking the Set button, you can click OK to close the Tabs dialog box and gawk at your text.
The leader tab that uses the underline character is also the best way to create fill-in-the-blanks forms. Use the Tabs dialog box to set a left tab stop at the far right margin (usually, 6.0 inches). Choose an underline leader for that tab. Click Set and then OK.


