You can use information from the Outlook program, also a part of Microsoft Office, to work as a recipient list for a mail merge in Word. This trick works best, however, when you’re in a computer environment that features Microsoft Exchange Server. Otherwise, making Outlook and Word cooperate with each other can be a frustrating endeavor.
The typical mail merge involves five steps:
Build the main document.

You can create several types of mail merge documents:
Letter: The traditional mail merge document is a letter, which is simply a document in Word.
E-Mail Messages: Word can produce customized e-mail messages, which are sent electronically rather than printed.
Envelopes: You can use mail merge to create a batch of customized envelopes, each printed with its own address.
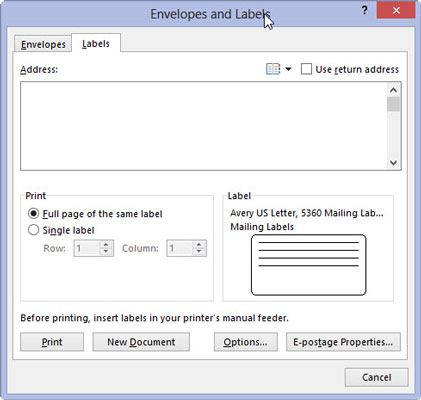
Labels: Word lets you print sheets of labels, each of which is customized with specific information from the mail merge.
Directory: A directory is a list of information, such as a catalog or an address book.
Decide which fields are needed for the main document.
You need to know what kind of information is necessary for the recipient list before you create it.
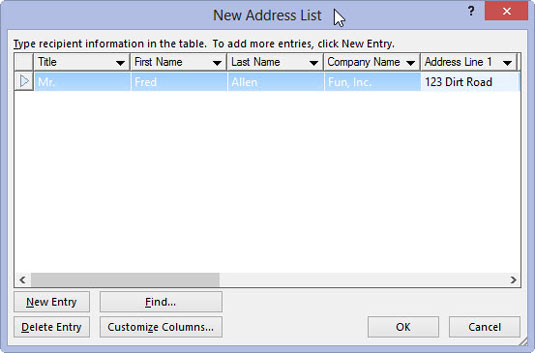
Create the recipient list — the data for the mail merge.

The recipient list is a database, consisting of rows and columns. Each column is a field, a fill-in-the-blanks part of the document. Each row is a record in the database, representing a person who receives their own, custom copy of the document.
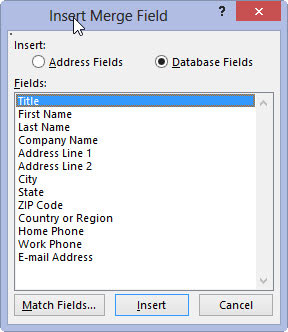
Insert fields specified in the recipient list into the main document.

The fields are placeholders for information from the recipient list.
Merge the information from the recipient list into the main document.
The final mail merge process creates the customized documents. They can then be saved, printed, e-mailed, or dealt with however you like.
You can also use the Word Mail Merge Wizard to help you work each mail merge step.


