


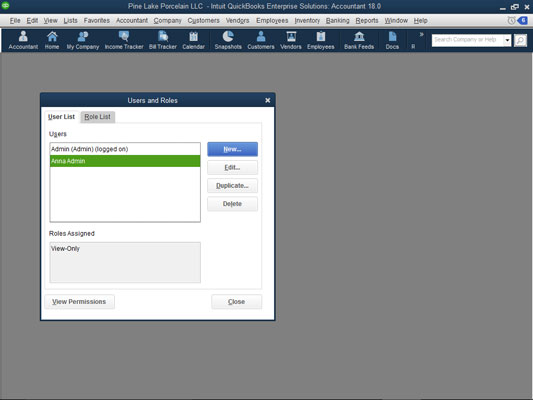
 The Users and Roles dialog box.
To change a user’s rights after reviewing them, select the user and click the Edit button. QuickBooks displays the Edit User dialog box, which closely resembles the New User dialog box that you use to set up the user and describe his or her rights. You use the User Name, Password, and Confirm Password text boxes to change the user information. You can use the Available Roles list, the Assigned Roles list, and Add and Remove buttons to change what the user can do within QuickBooks.
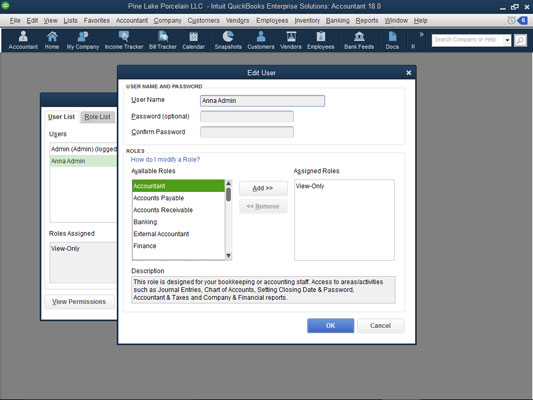 The Edit User dialog box.
To duplicate a user (you may want to add a second user with permissions that mirror some other user’s permissions), select the user you want to clone and then click Duplicate. When QuickBooks displays the Duplicate User dialog box, finish describing the new user, and click OK.
 The Duplicate User dialog box.
To remove a user, you also use the User and Roles dialog box. Simply select the user and then click the Delete button. QuickBooks asks you to confirm your deletion. When you click the Yes button for confirmation, QuickBooks removes the user.

