You can use DocuSign, an efficient cloud-based digital-signing software package, to create your own document templates. Suppose that you are coordinating a craft fair and need to have each vendor sign off on the rules and regulations. You can create a document template and have DocuSign send a signature form to all the vendors for you.
Sign onto your DocuSign account and follow these steps to create a template:
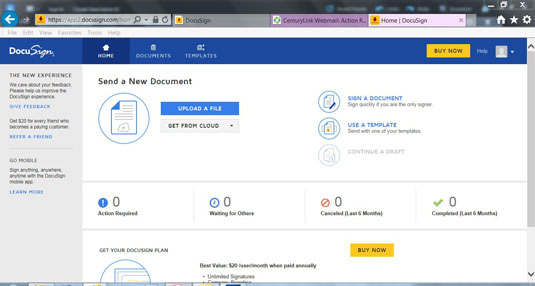
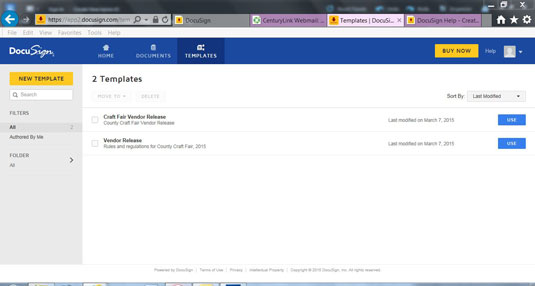
From the Home page, click the TEMPLATES tab.
Source: docusign.com
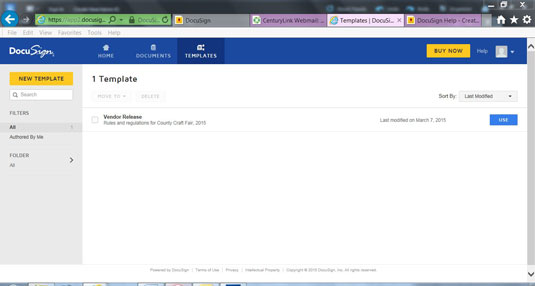
On the Templates tab, you see a list of your existing templates.
Click the NEW TEMPLATE button on the top left.
Source: docusign.com
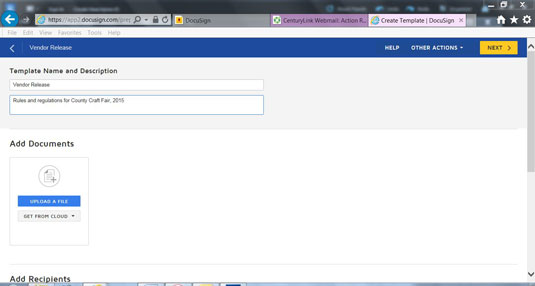
The Template Name and Description screen appears.
Fill out the name you want to use for your template and a description if you'd like.
Source: docusign.com
On this screen, you also upload the rules and regulations document that your vendors need to fill out. (Or, of course, any other documents you need to send as part of the template you’re creating.)
Upload your document(s).
Source: docusign.com
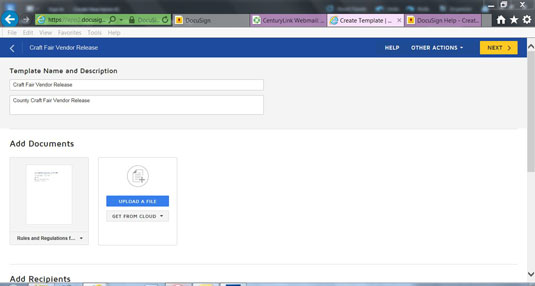
Your document(s) appear in the Add Documents area of the screen.
Add recipients.
Source: docusign.com
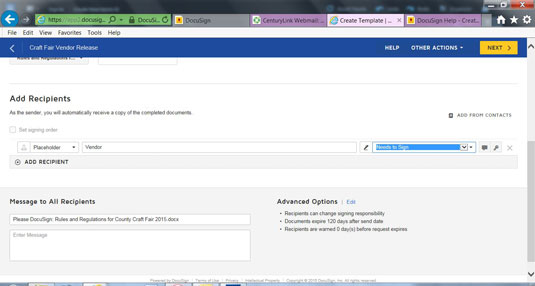
In the Add Recipients area of the screen, click the Recipient Type field and select Placeholder. You can leave the recipient as Person, but then you would need to know all their names and Email addresses immediately. By using a placeholder instead, you have a template that can change as your vendor list changes.
In the Role field, enter an appropriate title; in this case, Vendor. The drop-down list that appears in the Signing field gives you the following options: Needs to Sign, Hosts Signers, Receives a Copy. Leave Needs to Sign selected.
Add a message to your recipients.
Source: docusign.com
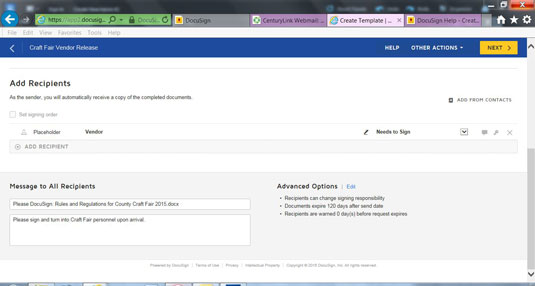
A default message states, “Please DocSign: Document Title.” Advanced Options are available on the right side of the screen.
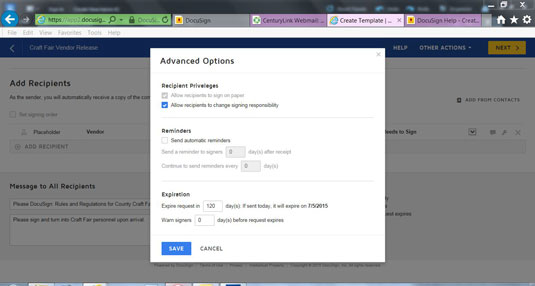
Click Edit next to Advanced Options.
Source: docusign.com
Select any of these options you desire and click the Save button. To save the template without adding any fields, click Other Actions and Save and Close.
Click the Next button.
Source: docusign.com
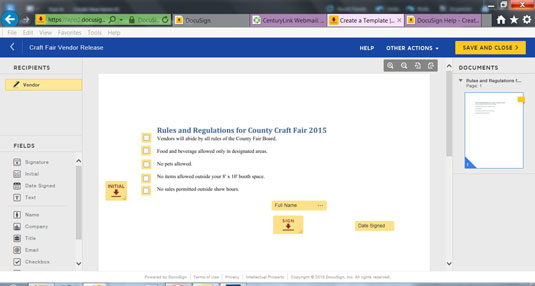
A screen appears, showing your document onscreen. A list of fields is available to the left. Place any of these you would like to appear as part of your template. You click the field name, for example, Signature and drag and drop the field to where you would like the recipient to sign.
The example shows a Signature field, designated by “Sign” and a red arrow; the Date Signed field to the right of the signature; a Name field that appears above the signature line; five Checkbox fields next to each stated rule; and an Initial field to the lower left of the rules.
Click SAVE AND CLOSE.
Source: docusign.com
Your new template is added to the list of available templates.


